Begin with how the table will be used
A beautiful table should make the meal easier to enjoy. Before choosing colours or decorative pieces, decide how guests will eat. A plated dinner needs room for each course to arrive. A family-style meal needs space for shared dishes. A buffet may allow a simpler initial setting because guests collect their plates elsewhere. These differences should shape the design from the beginning.
Write down the essentials for one guest: plate, cutlery, glassware, napkin and any menu or place card. Then list the items shared by the table, such as water, bread, condiments or serving dishes. Only after those needs are accounted for should you decide how much space remains for decoration. This prevents a handsome centrepiece from occupying the exact space needed for dinner.
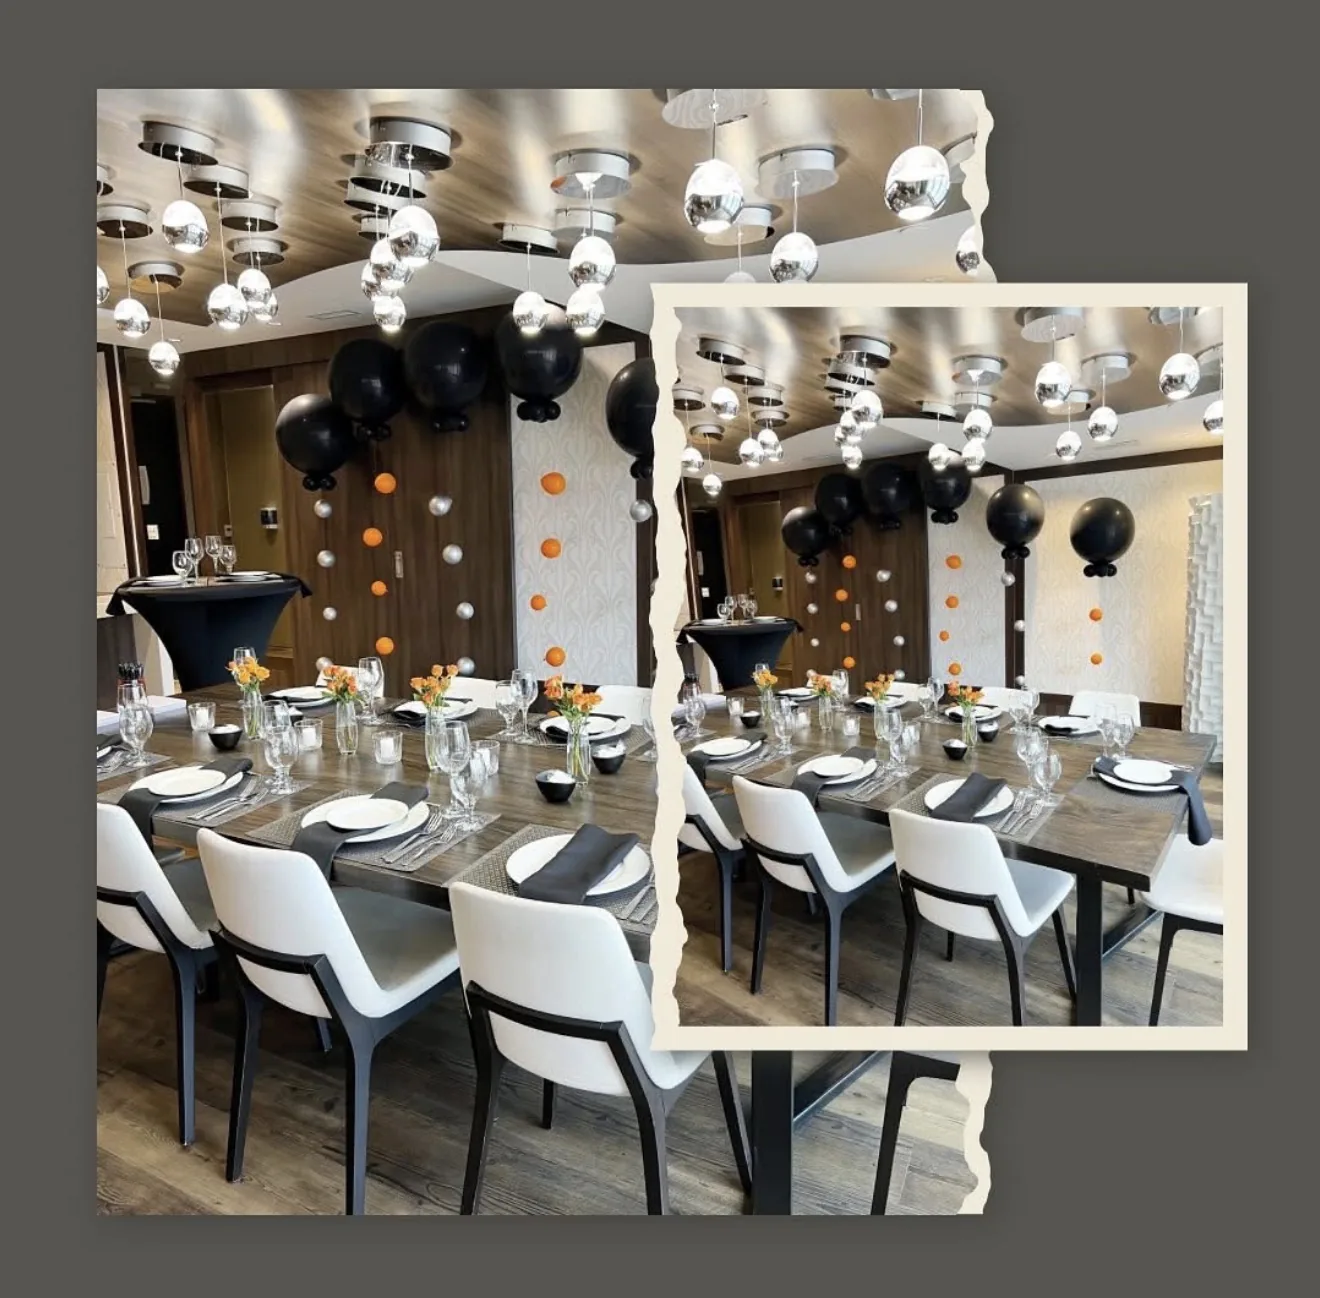
Think about the atmosphere you want in plain terms. Relaxed and colourful, simple and elegant, or warm and celebratory are more useful starting points than a collection of unrelated inspiration images. Choose a few details that support that feeling. The result should look intentional without requiring guests or staff to work around it all evening. Comfort and clear service are part of the design, not compromises to make after the table is decorated.
Choose the table size and seating before the linen
The table is the framework for everything placed on it. Confirm its shape, width, length and height, along with the number of people you intend to seat. A photograph of a round table does not reveal how much room each guest will have. The complete setting, chair spacing and room layout all affect whether the arrangement feels comfortable.
Measure the actual tabletop or use the confirmed catalogue dimensions. Then select the linen size according to the drop you want. For a round table, the drop is half the difference between linen diameter and table diameter. A 120-inch cloth over a 60-inch round table produces a 30-inch drop. That is a calculation, not a promise about every table's height or every cloth's finished appearance. Check the actual items together.
For rectangular tables, calculate the side and end drops separately. Avoid selecting a cloth only because its colour matches the invitation. A short or uneven drop may change the whole effect. If a floor-length finish is important, tell the rental team the table dimensions and intended use. Confirm that the chosen arrangement also keeps fabric out of guest movement and service areas.
Use a limited palette with one clear accent
A simple palette makes rental pieces easier to combine. You might choose a neutral tablecloth, white dishes and one napkin colour. Or you might keep both linen and napkins neutral and let flowers or printed stationery provide the accent. The point is to give the eye a clear direction rather than asking every object to compete for attention.
Look at fabric colours together in the light closest to your event setting. A colour can appear different on a screen, in a showroom and under evening lighting. If the exact shade matters, ask to view the available material rather than relying only on a digital image. Similar colour names do not guarantee a perfect match across fabrics or suppliers.
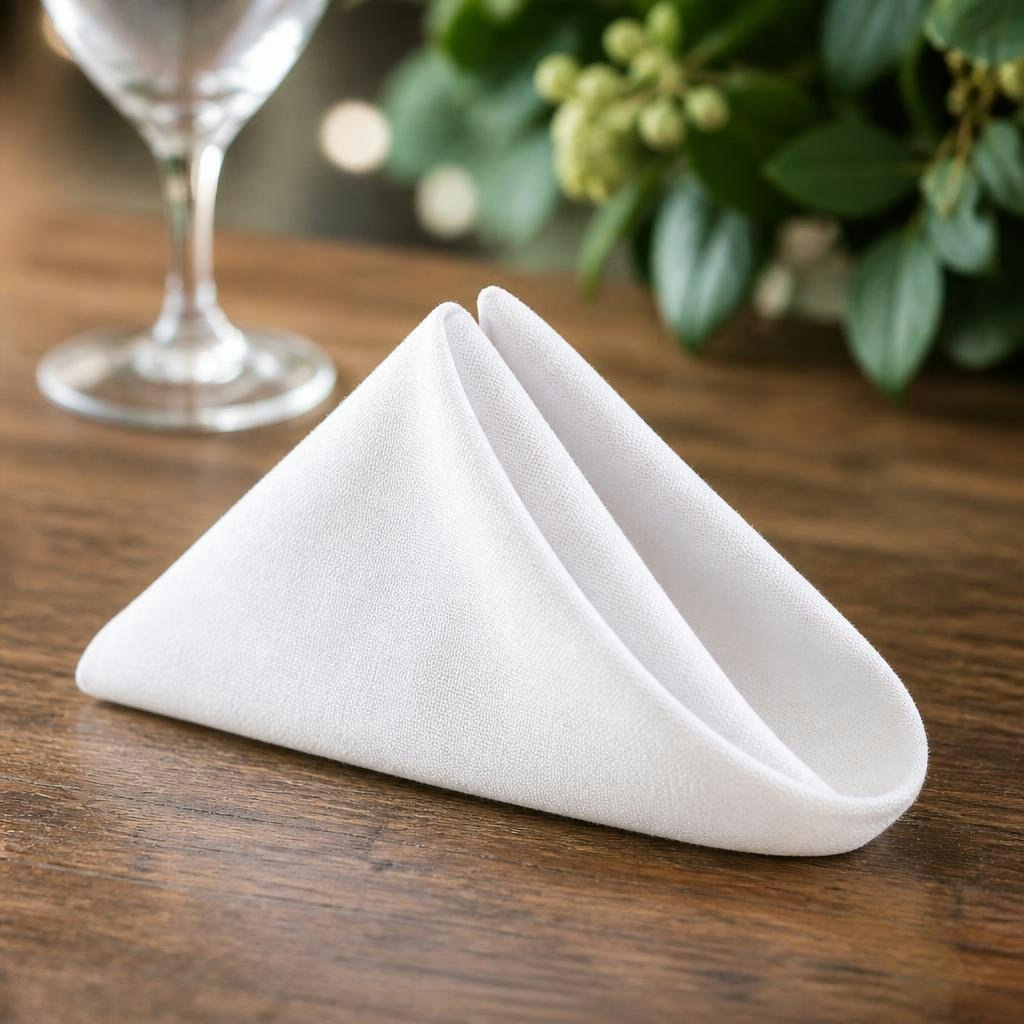
The White Napkins (20x20") is a straightforward neutral option to consider. A white napkin can connect mismatched decorative details, while a coloured napkin can make an otherwise simple table feel deliberate. Choose the role of the napkin before selecting it. If it is your main colour accent, keep the other pieces quieter. If it is meant to disappear into the setting, a simple fold and restrained colour may be the better choice.
Build the setting around the dishes
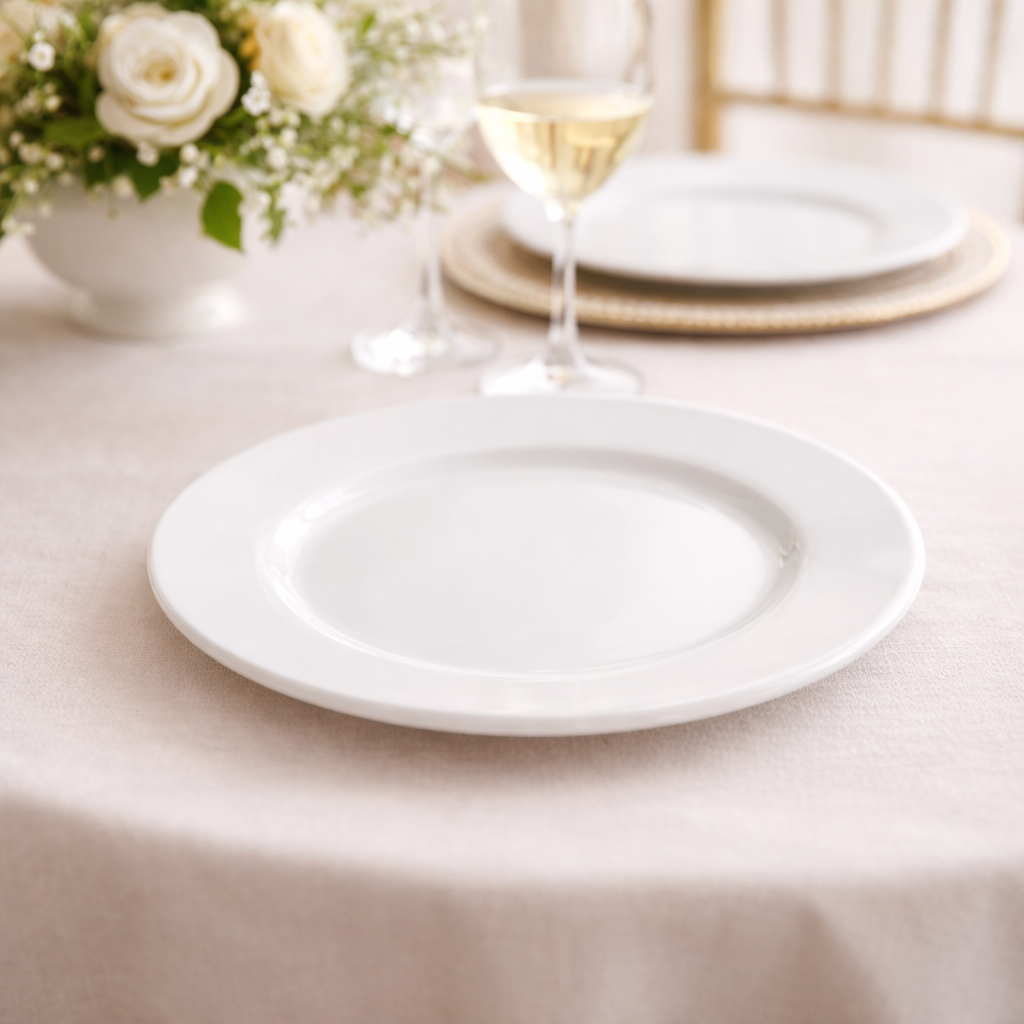
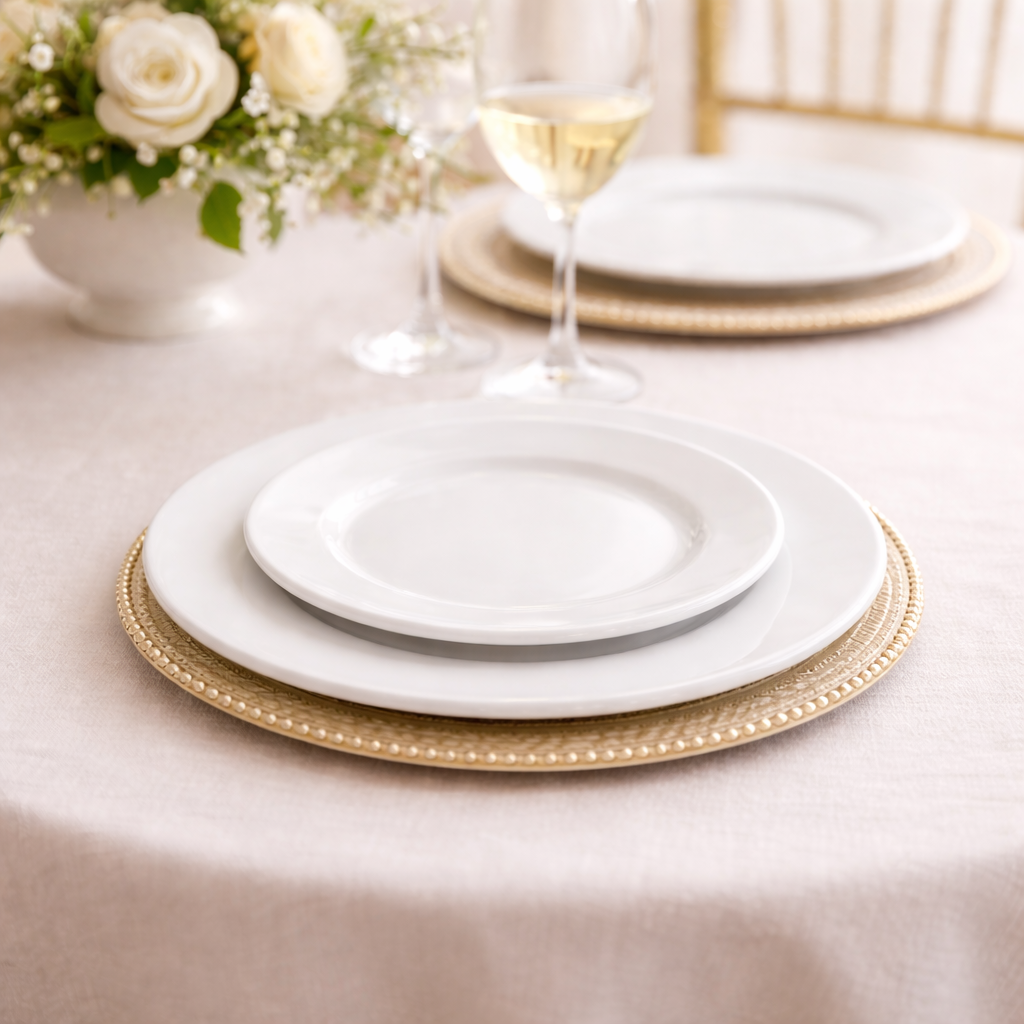
Choose dishes that suit the food and the scale of the table. The Sabina Plate - Dinner 10.75" is a main-course option to review, and the Sabina Plate - Side Dessert/Bread 7.5" can support a smaller service. Compare the actual dimensions rather than assuming all dinner or dessert plates are interchangeable. A large plate can make a small table feel crowded once cutlery and glasses are added.
Layering plates can create a finished appearance, but only do it when the service plan supports it. A stack that must be dismantled before the first course arrives can create extra work. Ask the caterer whether plates should be preset, kept in the preparation area or placed at the buffet. A table can look ready with a neatly folded napkin and glassware even when the dinner plates are elsewhere.
Keep the food presentation in mind. Strong patterns, unusual shapes and decorative objects can distract from the meal if every element is equally prominent. You do not need every piece to match exactly, but repeating one shape or colour can create consistency. Build a single complete setting and view it from the guest's seated position. That perspective often reveals crowding that is not obvious in an overhead photograph.
Place glassware with the full meal in mind
Glassware contributes height and light to the table, but it also needs working space. Decide which drinks are served at dinner and which are offered elsewhere. A water glass and one wine glass may be all a simple meal needs. A formal toast or paired menu may require additional pieces. Let the service plan determine the number rather than adding glasses solely for appearance.
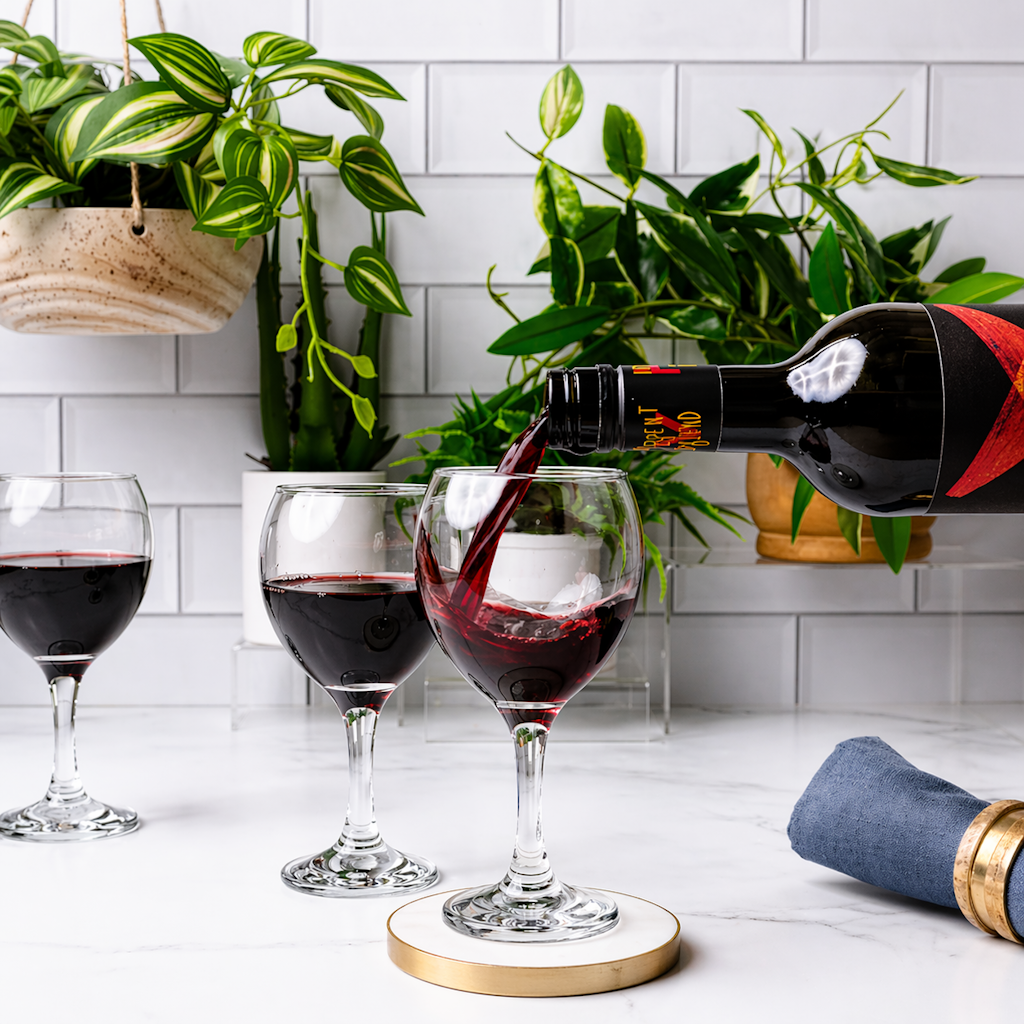
Review the Wine Glass - 8oz alongside your selected dishes and napkin. Check whether guests can reach their glasses without brushing a centrepiece or neighbouring setting. Consider how staff will pour and clear them. A tightly packed row of glasses may look polished before anyone sits down, then become awkward once chairs move and food arrives.
If the table is crowded, simplify the drinks presentation or serve a later beverage separately. Do not solve a space problem by making guests share an unclear arrangement. Keep water and other essential service needs easy to identify. When every table follows the same layout, both guests and staff can understand it quickly. Consistency is especially helpful when several people are setting the room and working from the same sample photograph.
Make napkins and cutlery useful decorative details
Napkins are a practical way to add colour and texture without filling the middle of the table. A simple fold can look considered when it is repeated neatly. More elaborate folds require time and may need to be undone before guests can find their utensils. Choose a style your setup team can reproduce reliably across the whole event.
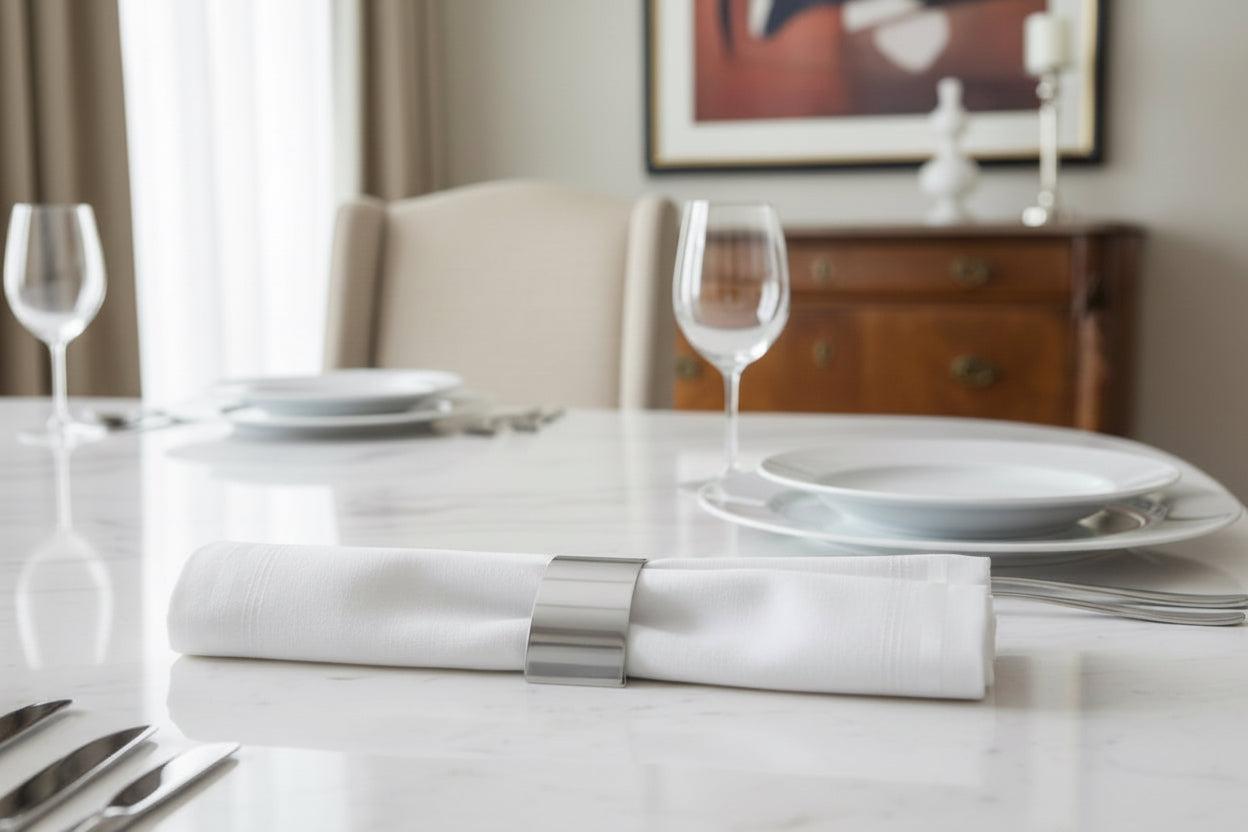
If you want a finishing detail, review the Napkin Ring-Silver with the actual napkin fabric. Confirm the combination works before ordering enough for every place. A ring that looks good with one fabric may handle a thicker fold differently. You can also choose a clean folded napkin without a ring; the absence of an accessory is not an unfinished setting when the overall design is intentional.
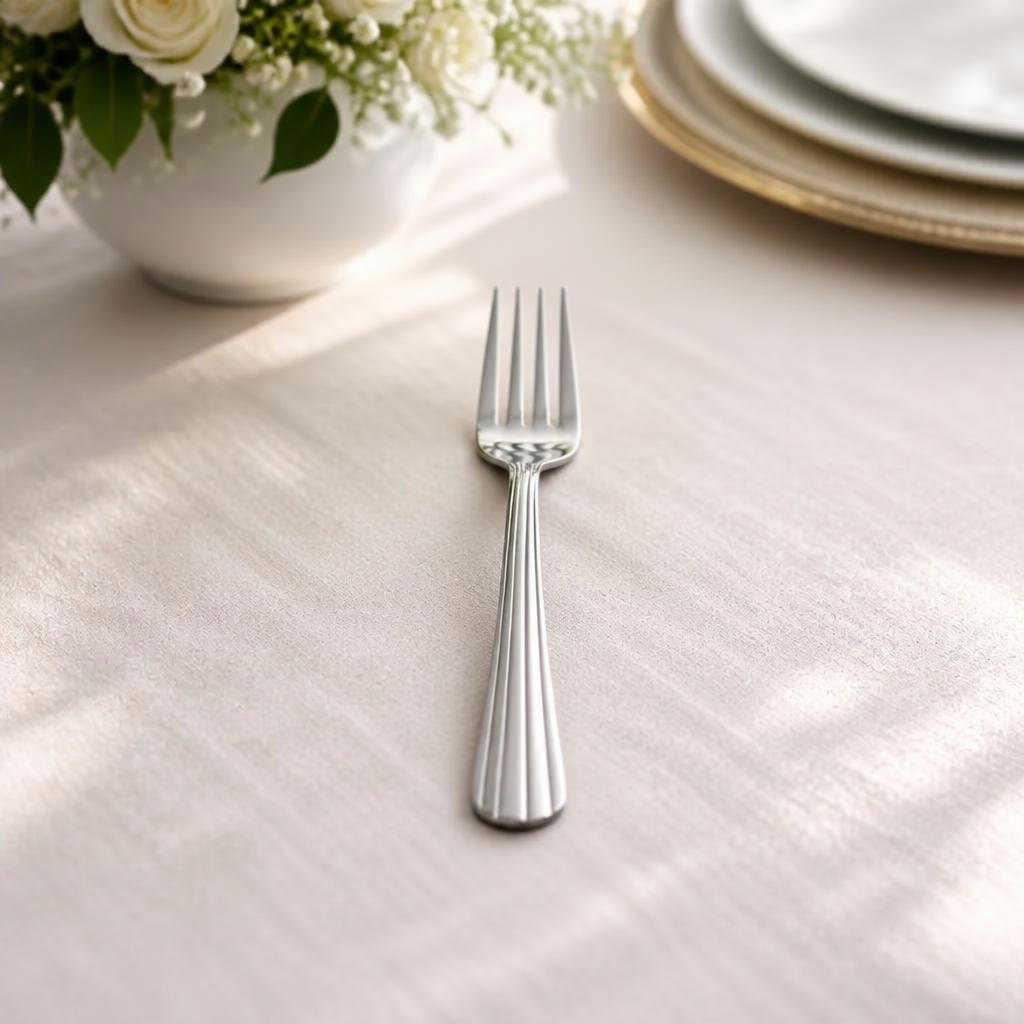
Match cutlery to the menu, beginning with pieces such as Fork - Dinner where appropriate. Arrange only what guests need for the planned service. Do not fill every space with spare utensils that will be cleared unused. If dessert happens later, its cutlery can be brought out then or placed at the dessert station. The table looks more comfortable when each object has a purpose and enough room to be used.
Keep the centre of the table available for the event
The centre of the table is shared space. Before adding decorations, mark where bread, water, family-style dishes or condiments will sit. If servers need to place platters there, leave a clear landing area. A narrow line of small decorative elements may work better than one large arrangement when the meal uses shared serving dishes.
Check sightlines from a seated position. Guests should be able to see and speak to one another without leaning around an arrangement. Consider stability as well as height. Decorations that are easy to knock over can become a problem when plates are passed or children reach across the table. Keep fragile and delicate objects away from the busiest serving movements.
If candles are part of the design, confirm the venue's rules and the suitability of the holders before planning them. Do not assume an open flame is allowed because a photograph shows it. Lighting can come from the room or other approved arrangements instead. The useful design question is whether the centrepiece helps the event feel welcoming while leaving room for the actual meal. If it makes conversation or service difficult, simplify it.
Create and photograph one complete sample table
A sample setting is the most effective way to turn ideas into a repeatable plan. Assemble the selected linen, napkin, dishes, cutlery and glasses on the intended table size. Add the shared items and proposed centrepiece. Then sit down. Check reach, elbow room and the space needed for the first course. Move a chair back and imagine a server approaching.
Take a clear photograph of the finished arrangement for your setup helpers. Include a short list of the item quantities per table. For example, record eight water glasses, eight napkins and the specific dishes required, rather than simply writing “set eight places.” If some plates belong at the buffet, state that on the setup sheet so they are not distributed to dining tables by mistake.
Test one practical sequence too. Put a dinner plate down, lift a glass, pass a shared dish and clear the used plate. You are looking for collisions between objects, not perfect etiquette. If the arrangement feels crowded in a test, it will feel more crowded during a lively event. Adjust the design now, before multiplying the same problem across ten or twenty tables.
Scale the design without losing control of quantities
Once the sample works, multiply the per-table list by the number of tables. Keep guest pieces separate from shared items and decoration. Eight napkins at ten tables means 80 napkins; two shared bowls at each table means 20 bowls. Those are different counting units, so putting them in separate columns helps prevent simple mistakes.
Add reserve quantities deliberately and account for catalogue ordering units. If glassware or dishes are ordered by dozens, round the final requirement appropriately and note the resulting extra pieces. Do not add a reserve repeatedly at the place-setting stage, the table stage and the final-order stage. A clear worksheet lets you see exactly how many extras are already included.
Include the non-dining tables in the design plan as well. A cake table, welcome table or drink station may need a different cloth size and fewer decorative elements. Do not automatically order the same linen for every surface. Measure and identify each table's purpose. Carrying one colour or repeated detail through the room can create a coordinated look without making every table identical or requiring an unnecessary accessory on every surface.
Plan setup and clearing as carefully as the appearance
Give your setup team the sample photograph, the per-table list and a simple room plan. Keep clean rental pieces protected until they are placed. Set aside the reserve so it is not used to decorate extra tables without checking. If several people are helping, assign one person to compare finished tables with the sample rather than allowing each table to become a different interpretation.
Plan where packaging will be kept during the event and where used items will be collected. Decorative choices should not hide cutlery in napkins or make the return count difficult. At the end of the evening, check every station, including the cake table, bar and preparation area. Follow the order's return-preparation instructions and keep pieces organized by type.
When you submit your rental request, include the event dates, exact items and quantities, and pickup or delivery preference. Ask Cody Party about any size or colour combination you have not been able to confirm. The most successful table setting is one that looks welcoming, fits the menu and can be assembled and cleared without confusion. Start with a useful plan, repeat a few thoughtful details, and let the celebration provide the rest of the atmosphere.