Decide what the drape needs to accomplish
Start with the job: defining a booth, providing a photo background, separating an event area or concealing supplies. These purposes can require different layouts and fabric choices. A backdrop that looks good behind a speaker may not provide enough visual privacy for a working area. A booth divider should make the space understandable without preventing visitors from seeing where to enter.
Write a short brief describing who will stand in front of the drape, what will be behind it and how people will move around it. Include whether the installation will be seen from one side or both. If a photographer or video operator will use the background, ask about their framing needs before choosing its width. A close portrait and a group photograph do not need the same arrangement.
Keep the design focused. Pipe and drape is a fabric-support system, not automatically a structure for signs, screens, lighting or other loads. Describe any additional items you hope to attach to the rental team and obtain specific approval for the supplied equipment. Do not assume a visually lightweight decoration has no effect on the setup. Separating the background's purpose from other display requirements makes the order clearer and easier to review.
Understand exactly what the catalogue item includes
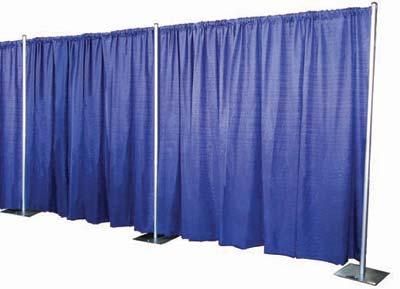
Cody Party's listed pipe-and-drape section is described as eight feet high, with a fixed height, and six to ten feet wide, adjustable. It is also clearly labelled frame only. This means a request for a frame should not be treated as a request for a fully dressed backdrop. Choose compatible drape separately and confirm all supplied components with the team.
Do not read adjustable width as adjustable height. If an eight-foot-high background is too tall or too short for your venue, explain that before booking rather than assuming the hardware can be altered. Check the room's ceiling, light fixtures and any restrictions on exhibit height. The space required for setup and bases also matters, even when the fabric plane seems to fit against a wall.
Ask for a complete equipment breakdown for your planned configuration. A straight background, several connected sections and a booth with corners can need different component counts. The rental team should confirm how the supplied system is configured and which accessories are necessary. Avoid counting posts or bases from another manufacturer's diagram and assuming they match Cody Party's inventory. The catalogue dimensions establish the starting point; the confirmed equipment list establishes the actual order.
Measure the full area around the backdrop
Measure the desired visible background width, then measure the floor area available around it. Include the location of doors, fire-safety equipment, power points, fixed furniture and the route visitors will use. A backdrop should not hide an exit sign or make an essential control inaccessible. Ask the venue to review the proposed location and its requirements before you consider the plan complete.
Record the ceiling height and any low obstructions, not just the height in the centre of the room. A decorative beam or light fitting may interfere with a setup positioned near a wall. Also note the floor surface and any uneven sections. The installation must suit the equipment and the location; do not plan to correct an unsuitable surface with improvised supports during setup.
Use a simple plan showing the drape line, base footprint, display table and visitor route. Leave room for the people operating inside a booth as well as those standing in front of it. If a staff member must squeeze between stock boxes and a drape every time they enter, the booth needs revision. Share the measured plan and a few photos with the rental team, particularly for corners, tight access or unusual venue conditions.
Translate a width into a practical section plan
Break the desired run into workable sections, using the listed adjustment range as a planning reference. For example, an eighteen-foot-wide straight background could start a discussion about two nine-foot spans. That is a layout concept, not a final hardware list. Ask the team to confirm the actual arrangement, connections and components rather than ordering two sections and expecting every detail to resolve itself.
A width that does not divide conveniently deserves an early conversation. Do not assume a section can be shortened below its listed minimum, extended past its maximum or joined to a different system. Likewise, do not expect fabric to conceal an unsafe or incompatible connection. A small change in the visible width may produce a more practical layout while preserving the appearance you want.
Corners and shared booth walls need particular attention. Draw each run and identify whether both sides will be visible. Mark openings and any space that must remain accessible. Let the rental team calculate the compatible equipment from that drawing. This avoids both over-ordering independent frames where a reviewed shared arrangement is possible and under-ordering because a sketch omitted the support at a change in direction.
Choose fabric for coverage, not just colour
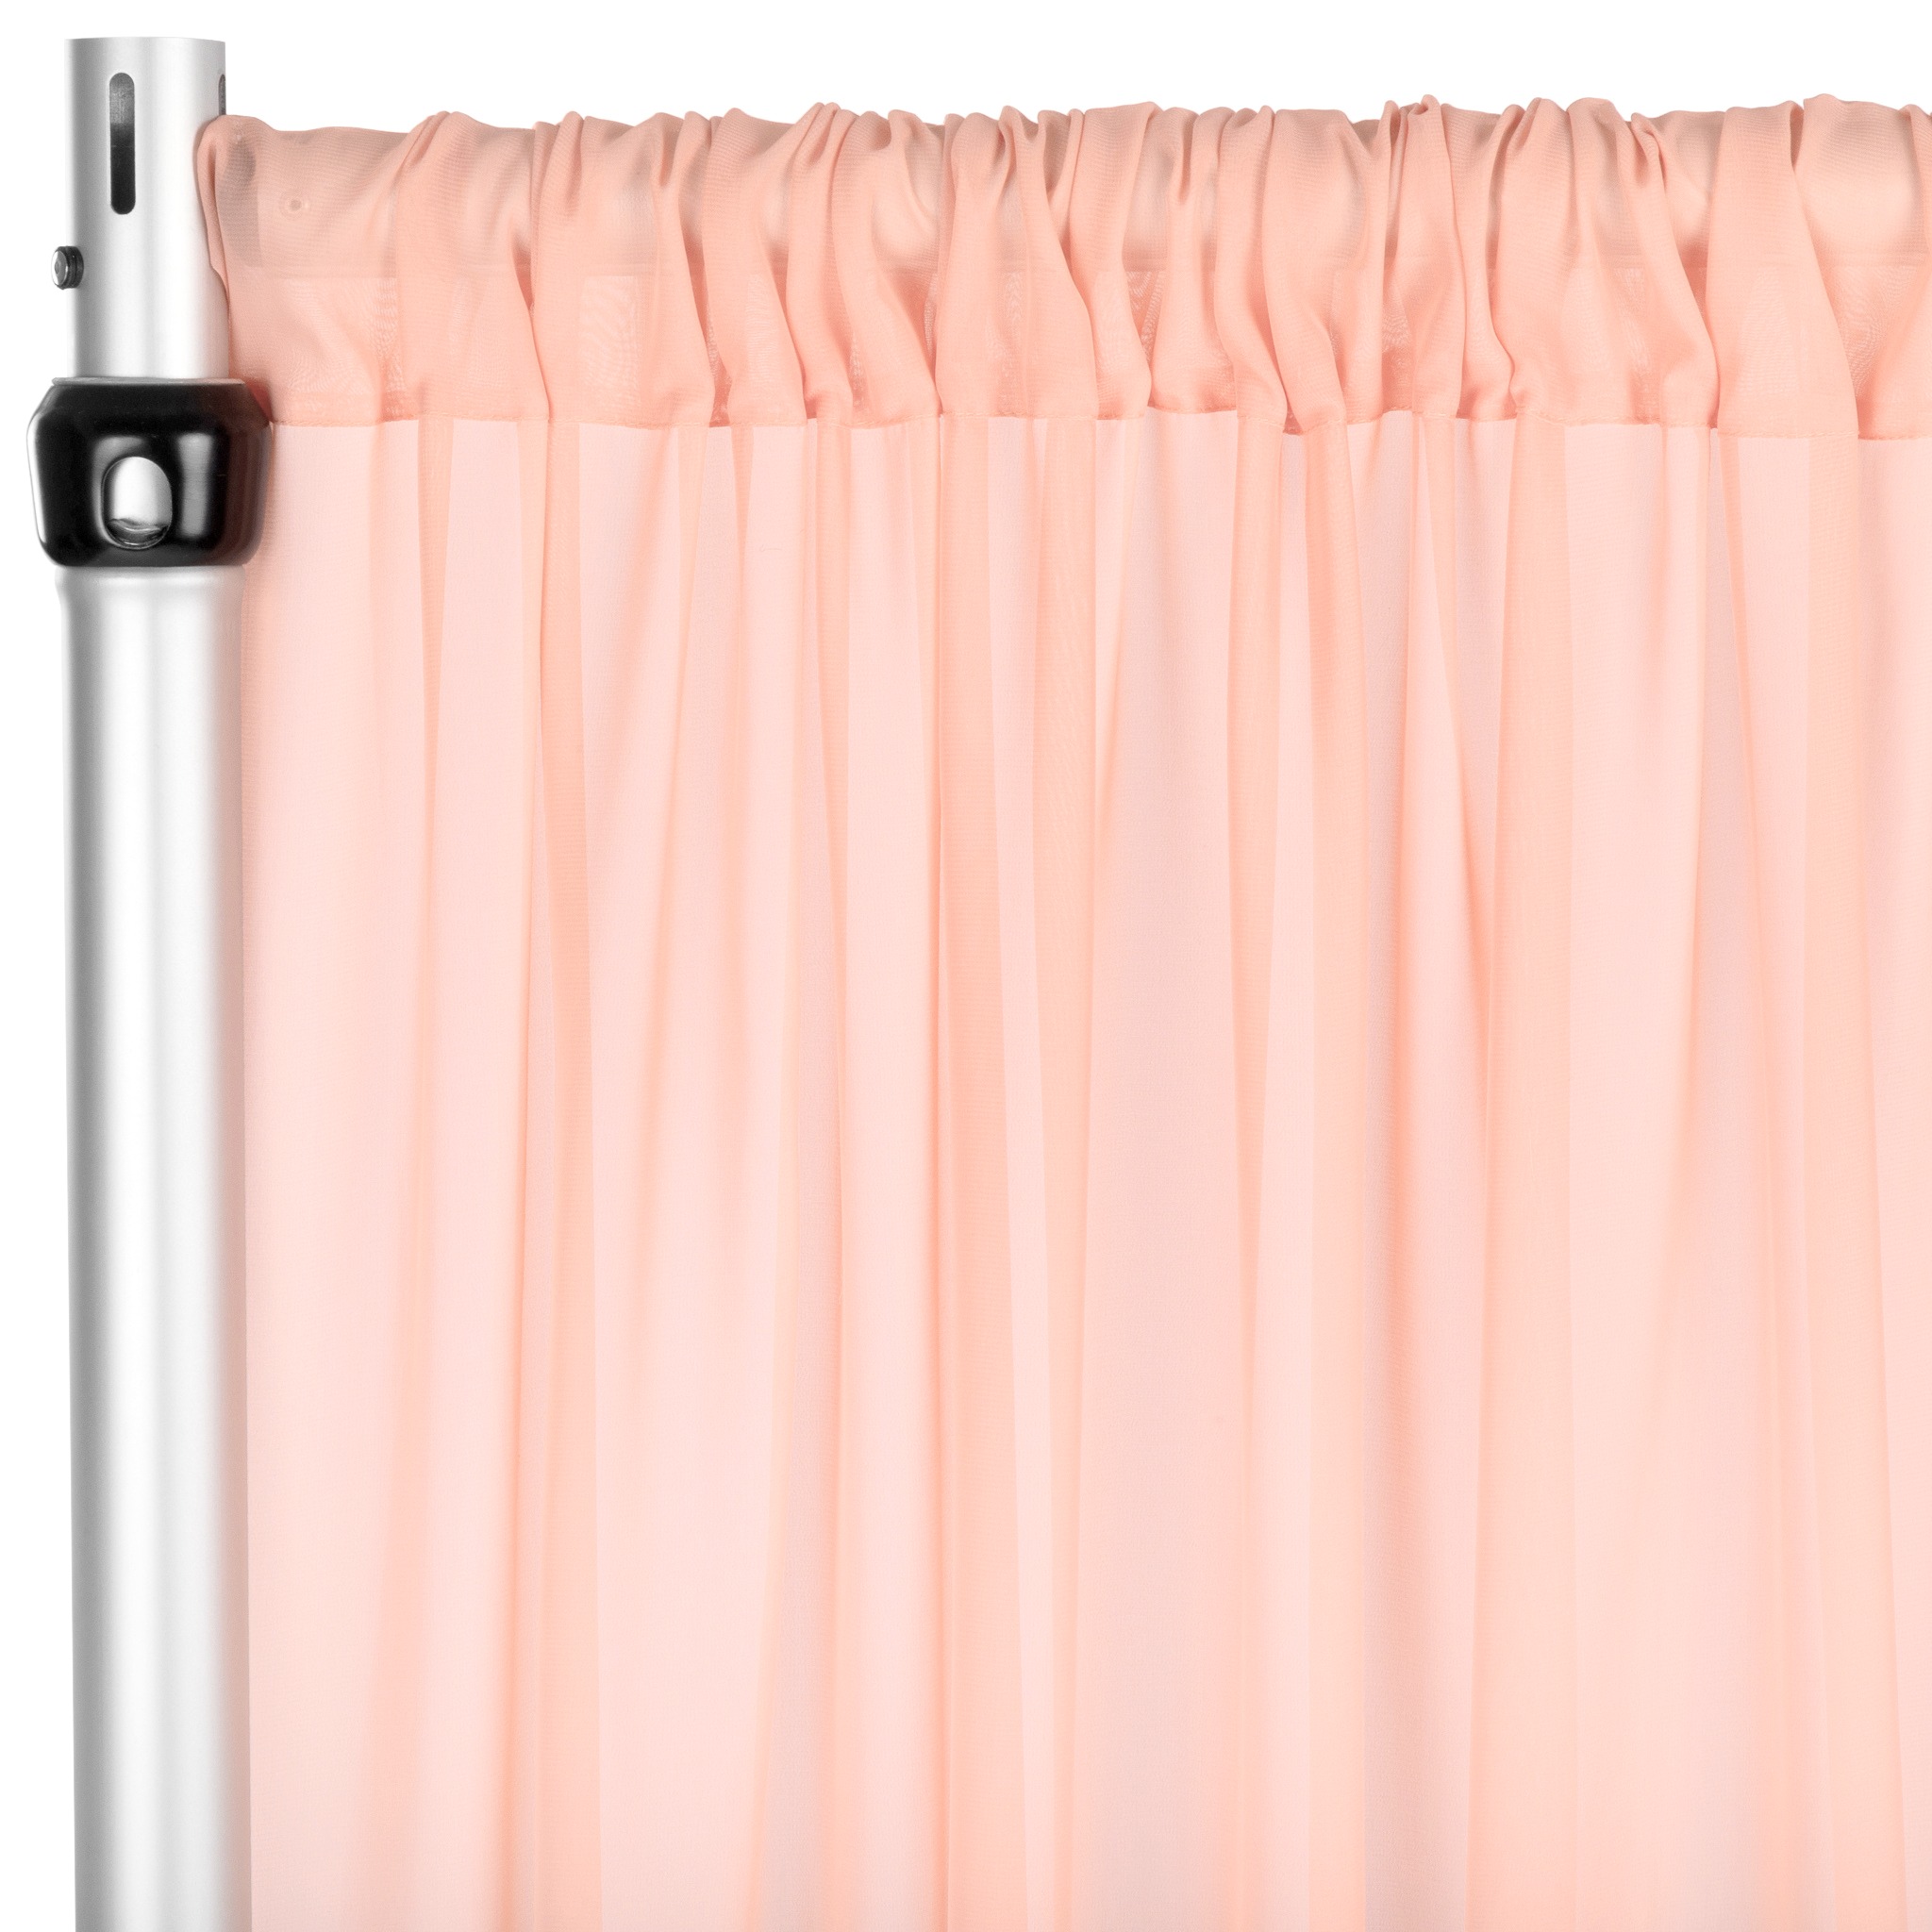
Compare the look you want with what the fabric must hide. A sheer panel, a basic opaque-looking drape and a reflective decorative fabric can produce very different results under event lighting. Ask about opacity and compatibility for the actual panel, and do not assume that any fabric completely blocks light or silhouettes. If visual privacy is important, describe the lighting and activity behind the backdrop.
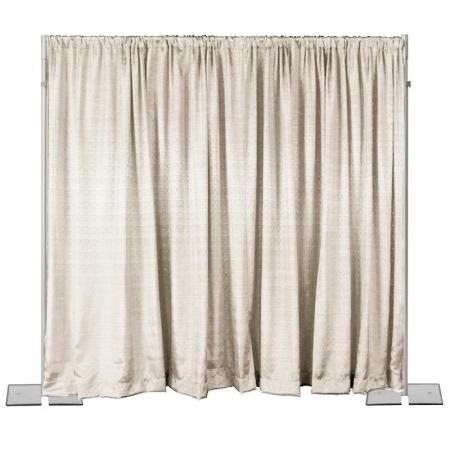
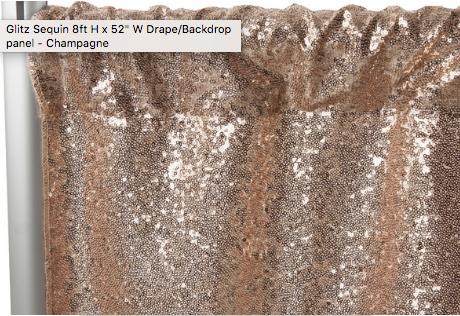
The catalogue includes white banjo drape listed at 94 by 48 inches and champagne glitz sequin drape listed at eight by ten feet. These are different dimensions and finishes, not interchangeable quantities. Check how each is intended to hang on the supplied frame and whether its finished appearance suits the event. A product photograph cannot show every lighting condition or the fullness created by your selected span.
For a photograph or presentation, consider the subject's clothing, signs and lighting against the fabric. A busy or reflective background may compete with small text, while a simple background can make a display easier to read. Ask the photographer or presenter for input where relevant. Select the fabric after the frame dimensions are settled so you are choosing a complete visual arrangement rather than hoping the remaining panels will fill the space.
Calculate panel coverage with a clear example
Panel width and finished covered width are not always the same because gathering fabric creates folds. Start with the listed panel dimensions and the span you need to cover. Decide whether you want a relatively flat appearance or a fuller look, then ask the team how many compatible panels create that finish with the specific drape. Do not use one fullness assumption for every fabric.
As a simple arithmetic example, three panels each listed at forty-eight inches wide provide twelve feet of flat fabric before gathering. Across a ten-foot span, that leaves two feet of extra fabric width for folds and overlap. Four such panels provide sixteen feet before gathering. These numbers explain the relationship between width and fullness; they are not an instruction to use either count without checking the hanging method and desired coverage.
Height needs its own check. A panel listed slightly shorter than an eight-foot frame may be designed to hang with a particular clearance, but the supplied hardware and attachment method determine the result. Confirm the finished look rather than stretching, pinning or modifying fabric. Record the panel quantity, colour and dimensions beside each frame run on the order so a shortfall on one wall does not get hidden by excess fabric elsewhere.
Make the booth work for visitors and staff
A trade show booth needs a clear reason for visitors to stop and a comfortable place for a short conversation. Arrange the backdrop and display so people understand the offer without stepping into a narrow opening. Keep the main message visible above or beside the people working the booth, while respecting the venue's display rules. Do not assume every sign can be attached to the rental frame.
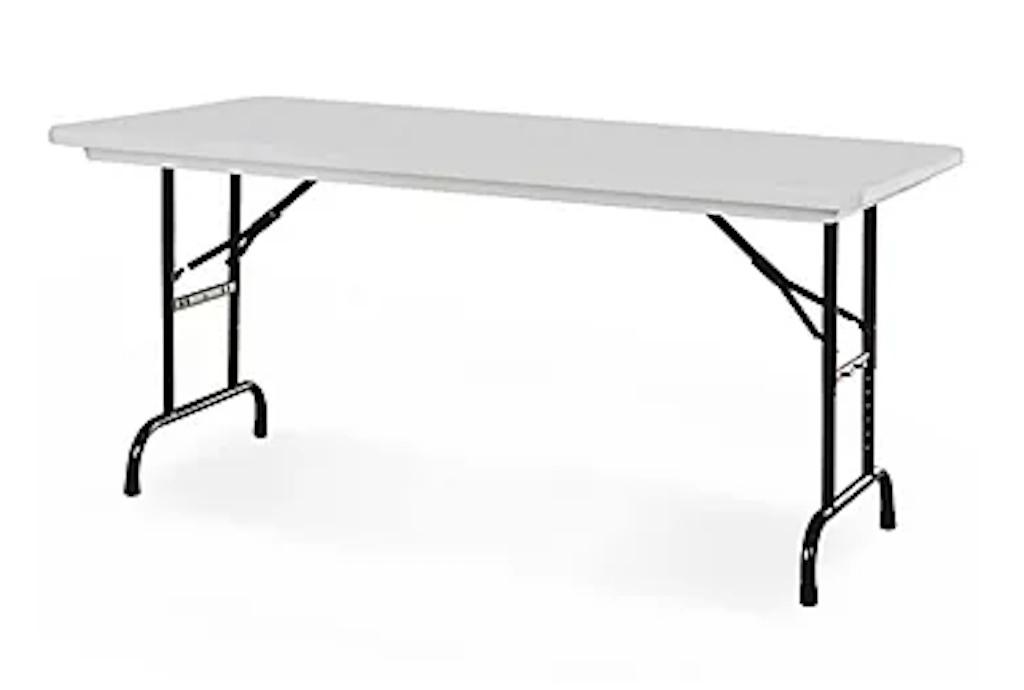
A six-foot rectangular table may provide a useful display or conversation surface, but decide where it belongs before selecting the drape configuration. A table across the whole front can create a clear boundary, yet it can also make the booth feel closed. A table along one side may invite visitors in, provided the remaining route and working area are adequate. Test the layout with the actual display materials.
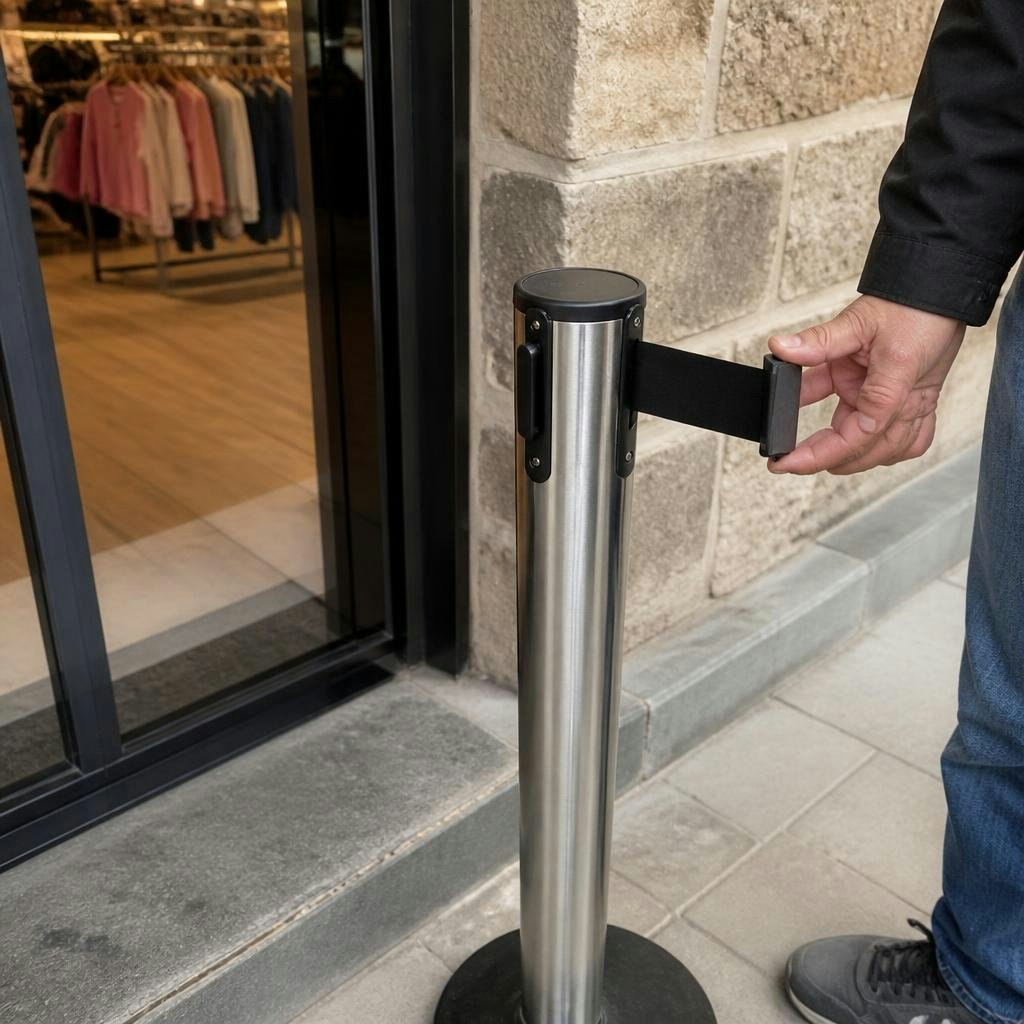
Plan stock and personal belongings too. Boxes hidden behind fabric still occupy floor space and may interfere with bases or access. Keep the staff route clear and avoid placing items where they push against the drape. If you need queue guidance, consider appropriate retractable stanchions as separate equipment, with placement reviewed for the venue. A fabric wall should not be treated as a crowd-control barrier.
Confirm installation and venue requirements
Ask who will assemble and dismantle the system, what instructions will be supplied and what the venue permits. Use the instructions for the actual equipment, not a generic online tutorial for a similar-looking frame. Manufacturers use different bases, uprights, connections and support arrangements. A clear demonstration or setup plan is more reliable than guessing which part fits where while other suppliers are waiting.
Discuss fabric documentation and any venue requirements before the event. Do not assume that a colour, fabric name or a certificate for another material establishes compliance for the panels you are renting. The venue or applicable authority should identify what it needs, and the rental team can confirm what documentation is available for the supplied items. Resolve this before the load-in date.
Do not assume an indoor backdrop can be used outdoors. Fabric can catch wind, and suitability depends on the system, site and conditions. Ask for an explicit review of any outdoor plan; improvised weights or attachments are not a substitute. Keep children and visitors away from setup work, and do not add signs, lights, foliage or other loads unless the rental team has approved the exact arrangement.
Coordinate load-in and protect the fabric
Confirm the venue's access window, unloading location and route to the setup area. Mention stairs, elevators, narrow doorways and any requirement to reserve a loading bay. Long components can be awkward in a passenger vehicle or a tight hallway, so ask about packed dimensions and suitable transport before arranging pickup. Keep the installation location available when the setup team arrives.
Retain the supplied packaging and keep fabric away from food, dirty floors and damp areas. Follow the care instructions for the actual material; do not apply adhesive, pins, heat or cleaning products without approval. A quick attempt to remove a wrinkle or stain can cause more damage than the original problem. Contact the rental team if something needs attention rather than experimenting during the event.
Before opening the booth or backdrop to guests, check the completed setup with the responsible person. Confirm that the agreed layout is in place, bases and routes are accounted for and nothing has been added since approval. Photographing the arrangement can help the event team remember where pieces belong after a break or reset. Keep the plan accessible so a later change does not undermine the setup that was reviewed.
Send an order the rental team can verify
Include the event date, location, required rental period, purpose and whether the setup is indoors or outdoors. Attach the measured plan showing each span, corner and opening. List your preferred fabric and finish, and identify any proposed attachments or special visual requirements. If the event organizer has supplied exhibit rules, share the relevant requirements before the equipment is selected.
Review the response for both frame and fabric quantities. Confirm the exact components, setup responsibility, access arrangements and return instructions. Ask the team to flag any mismatch between the requested height, width, fabric and venue. A single photograph of an inspiration backdrop is useful for style, but it does not replace the measurements and equipment review needed to recreate a suitable version.
After the event, count components and panels against the confirmed order and pack them as instructed. Keep small accessories with their corresponding equipment and report missing or damaged pieces promptly. A good pipe-and-drape plan is complete from measurement to return: it gives the event a clean visual structure while leaving enough room for people, services and the practical work behind the scenes.
Further reading & sources
Check current instructions and requirements for your event and the equipment supplied.