Map the space you can actually use
Begin with a measured sketch of the venue or event area. Record the length and width, then add the features that reduce usable space: columns, fixed counters, fireplaces, trees, planters, steps and furniture that will remain. Mark entrances, washrooms, service access and doors that swing into the room. A venue’s total floor area is not the same as the area available for dining tables. A good sketch captures the obstacles before you choose the furniture.
If the venue has an approved floor plan or capacity limit, request it early. Use that information as a constraint, not as something to check after the room is filled. For a public event, the organizer should confirm the applicable requirements with the venue and relevant authorities. This guide offers planning methods, not a substitute for a required layout approval or an occupancy calculation.
Take photographs from the main entrance and from each corner. They help you remember sightlines and features that a rough drawing misses. For an outdoor area, note slopes, soft ground and the route from parking or delivery access. Mark where rain could collect and where people will move if the weather changes. Measuring the real site prevents you from designing an attractive arrangement for a room that does not quite exist.
Give every activity a place
List the things that will happen during the event before placing tables. Arrival, registration, dining, food service, drinks, speeches, dancing, gifts, children’s activities and cleanup may all need space. Some activities can share an area at different times, but that requires a clear changeover plan. If everything is expected to happen at once, each activity needs a workable location rather than an unused corner discovered on the day.
Separate guest areas from working areas. A buffet needs more than a table: people queue, serve themselves and move away carrying plates. A coffee station needs somewhere for cups and supplies, plus access for replenishing them. A display or gift table may attract a small group that pauses nearby. These temporary clusters matter because they can block a route even when the furniture itself is correctly placed.
Use labels on the drawing so the plan is easy to discuss. “Guest tables,” “buffet queue,” “coffee,” “welcome” and “service access” are enough for a first version. Then look for conflicts. If the only route to the washroom crosses the buffet line, adjust the layout before adding decoration. Planning around activities gives you a better starting point than arranging tables symmetrically and hoping everything else will fit around them.
Draw people and chairs, not just table shapes
A tabletop footprint can be misleading. Chairs extend beyond it, seated guests occupy space and people need room to pull chairs out. A plan showing only circles and rectangles can look spacious while the real setup feels crowded. Add chairs in their occupied positions and imagine someone standing up from each one. The route behind that chair should not depend on the guest remaining perfectly still throughout the meal.
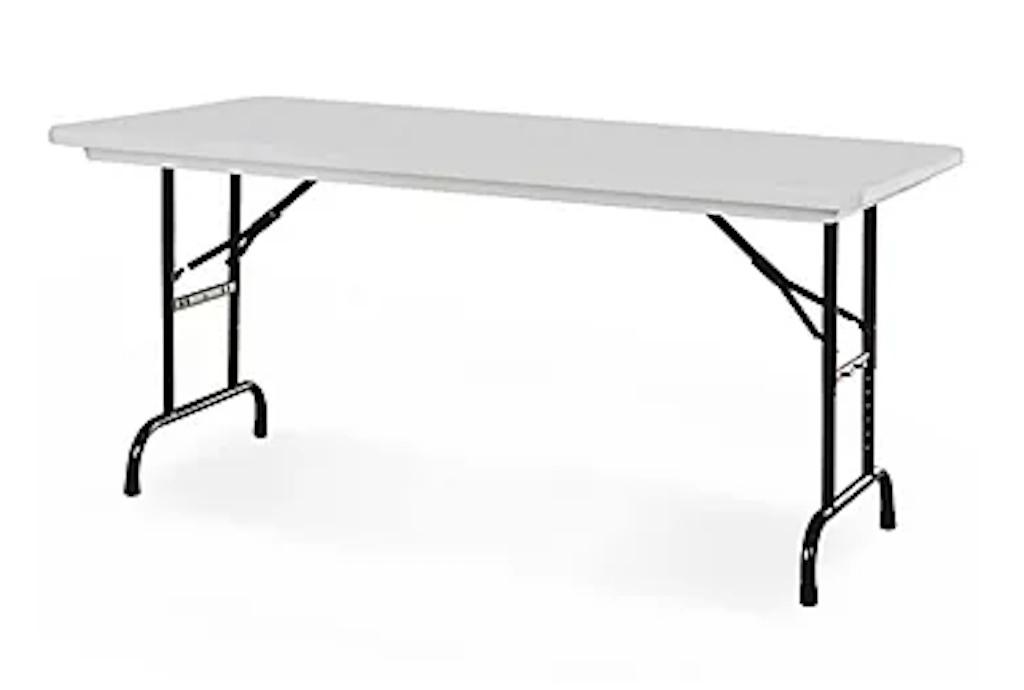
Choose actual rental dimensions for the drawing. For example, Table Round - 60" Wide X 30" High gives you a known round-table diameter, while Table Rectangular - 6' Long X 30" Wide X 30" High gives you the length and width of a six-foot rectangular table. Use a consistent scale so the comparison is meaningful. The chair style matters as well; do not draw every chair as a tiny dot. If the fit is close, test a real table and chairs rather than relying on a rough sketch.
Avoid adopting one universal aisle number from an inspiration image or blog. Required clearances depend on the venue, use and applicable rules. Ask the venue or person approving the plan which dimensions must be maintained. Then allow for the way the event will operate within those requirements. A layout that technically leaves a line on paper but fills it with bags, coats or chair backs during use needs further work.
Plan routes from arrival to departure
Trace a guest’s path from the entrance to their seat, food, drinks, washrooms and the main activity. Then trace the path of someone bringing supplies or clearing dishes. These routes may overlap, but they should not create constant conflict. A service table placed beside the entrance can cause a bottleneck if guests stop there while others are still arriving. Moving it slightly farther into the room may make the whole arrival feel calmer.
Keep the venue’s designated exit routes and safety equipment accessible. Do not treat a doorway or corridor as storage because it is not currently busy. Signs, decorative stands and spare chairs can create obstacles just as easily as large tables. Assign a storage area for empty packaging and personal belongings so they do not gradually migrate into circulation space during setup.
Look at the route when chairs are occupied and when queues are longest. A clear path before guests arrive may disappear during dinner. Consider where people will pause to talk or take photographs. If a focal display is located in a narrow passage, it may attract exactly the crowd that the passage cannot accommodate. Designing the routes before final decoration helps you keep the attractive elements without compromising the movement around them.
Make access part of the first draft
Ask guests about access needs early and plan with the venue rather than waiting for a problem at arrival. A route needs to be usable all the way from the entrance to the activity, not only beside the dining table. Surface conditions, steps, doorways, furniture bases and turning space can all matter. Do not assume that removing one chair automatically makes the whole event accessible.
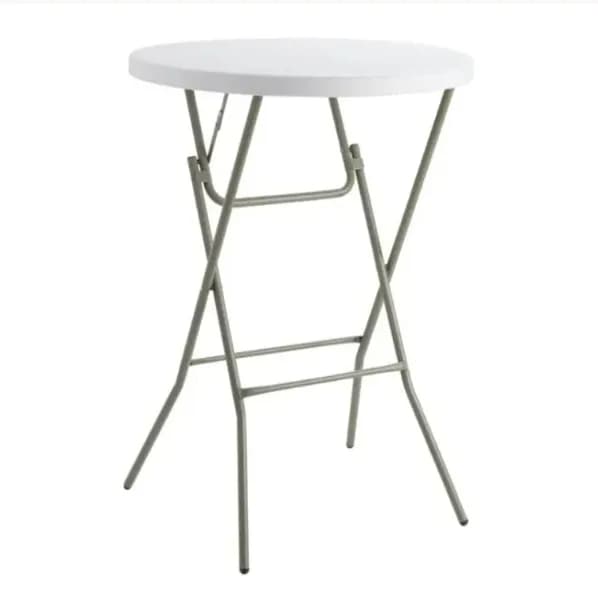
Ontario’s accessible-events guide recommends planning connected routes, suitable mobility-device spaces and seating for people who cannot stand for long periods. Keep that principle in the first draft. If you use Table Round Cocktail 42" High - 32" Wide Top for a standing reception, also consider appropriate lower-height seating and table options. Discuss the actual table clearance and guest needs instead of labelling a product accessible based only on its height.
Inclusive seating should offer a good experience, not merely a place that is easiest to leave empty. Keep companions together where possible, consider views of speakers or screens and avoid isolating someone beside a service station. Provide a way for guests to tell you what would help. When the plan is handed to volunteers, identify the intentionally open positions so they are not filled with spare chairs in a last-minute effort to make the room look complete.
Place dining tables around the service plan
Once the main routes and activity areas are established, place the dining tables. Choose a comfortable seating target and keep the table settings in mind. Large centrepieces, multiple glasses and shared platters need more usable tabletop than a simple snack service. A round-table layout and a rectangular-table layout may use the room differently, so compare both if the venue permits. Do not decide only by the number of tables you can squeeze onto the drawing.
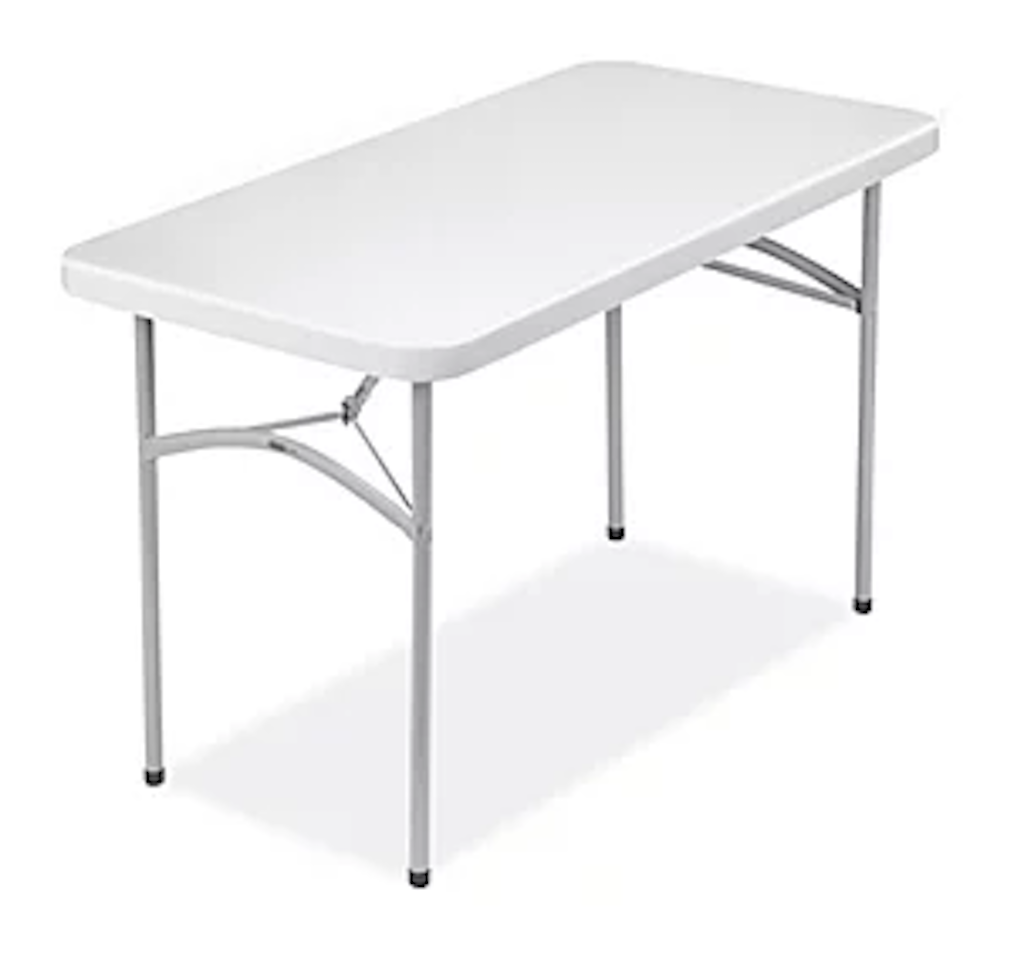
For a buffet, think about how groups will be called and where they return after serving themselves. For plated service, ask the caterer which routes and working areas are needed. A Table Rectangular - 4' Long x 24" Wide x 30" Height may be useful for a smaller support station, but confirm the equipment and purpose before substituting it for a full-size service table. The right dimensions come from what the station must hold and how it will be used.
Place the host or head table with both visibility and circulation in mind. A prominent location should not cut off an exit or force every guest past seated hosts to reach the washroom. If speeches are part of the meal, check the view from the farthest and most awkward seats. Small adjustments to table orientation can improve the experience before you add any more equipment.
Keep queues and working equipment visible on the plan
Queues are moving parts of the layout. A drinks station, buffet, registration desk or popular activity can create a line far longer than its table. Draw a plausible queue area and decide where the line begins and ends. Ask whether people leaving the station will cross those waiting to approach it. If the answer is yes, a change in orientation or a separate exit side may make the flow easier.
Equipment can also need space that is not obvious from its photograph. A machine may require ventilation, access to controls, a suitable power supply or a working area for the person operating it. Follow the specific instructions and the venue’s requirements. Do not place an appliance in a tight corner because the tabletop dimensions happen to fit. Keep cables and any protective routing arrangements out of ordinary walking paths as the venue directs.
Think about replenishment and clearing. Staff should be able to bring clean supplies and remove used items without weaving through a dense queue. Set aside a discreet but workable return area for dishes or glassware if your service plan uses one. That area should not be a random surface that disappears when decorations are installed. Planning these less glamorous functions makes the guest-facing arrangement look and work better throughout the event.
Plan outdoor and tent layouts as a whole
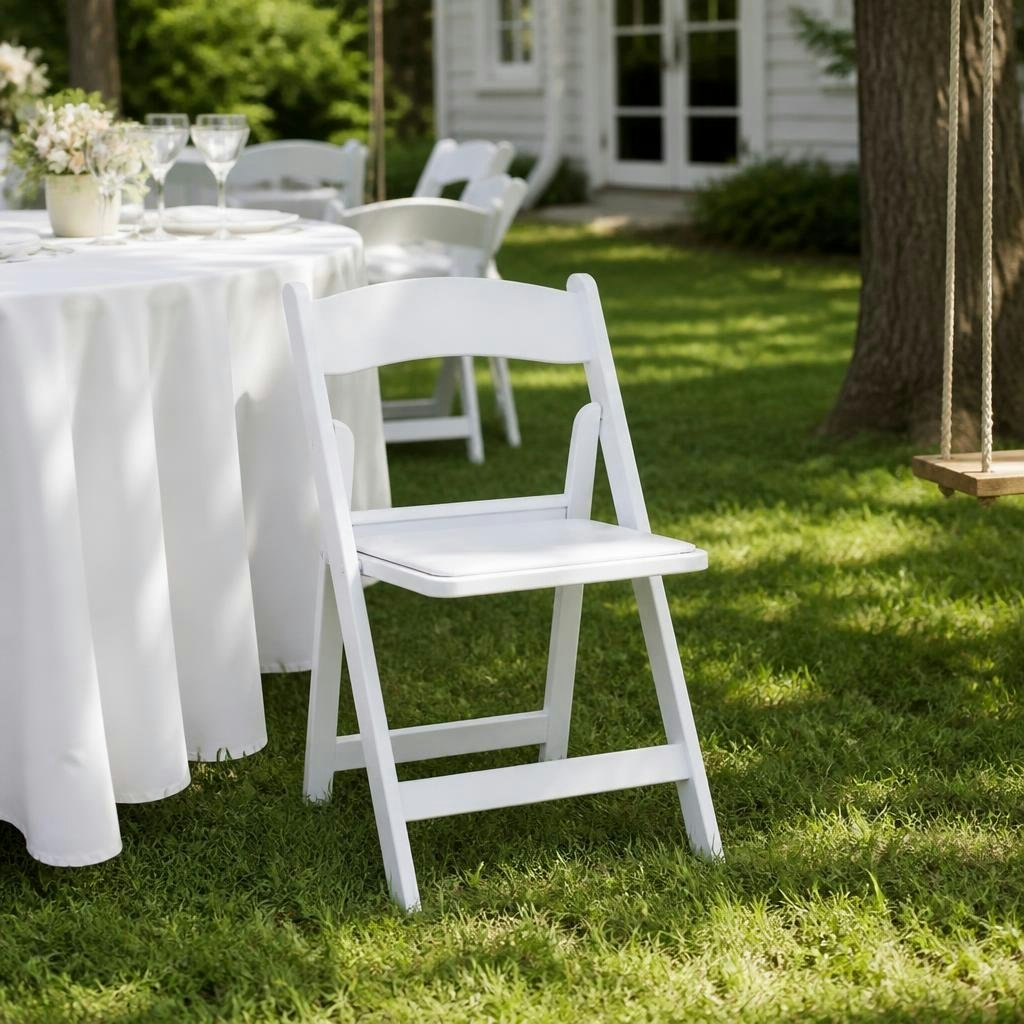
Outdoor layouts have extra variables: ground firmness, drainage, wind exposure, shade, lighting and access between separate areas. A lawn that looks flat from a distance may be uneven where chair legs land. Check the actual seating area and the routes people will take. Choose furniture suitable for the intended setting and confirm any restrictions in the product description. Do not use an indoor-only item outside because the weather forecast appears favourable.
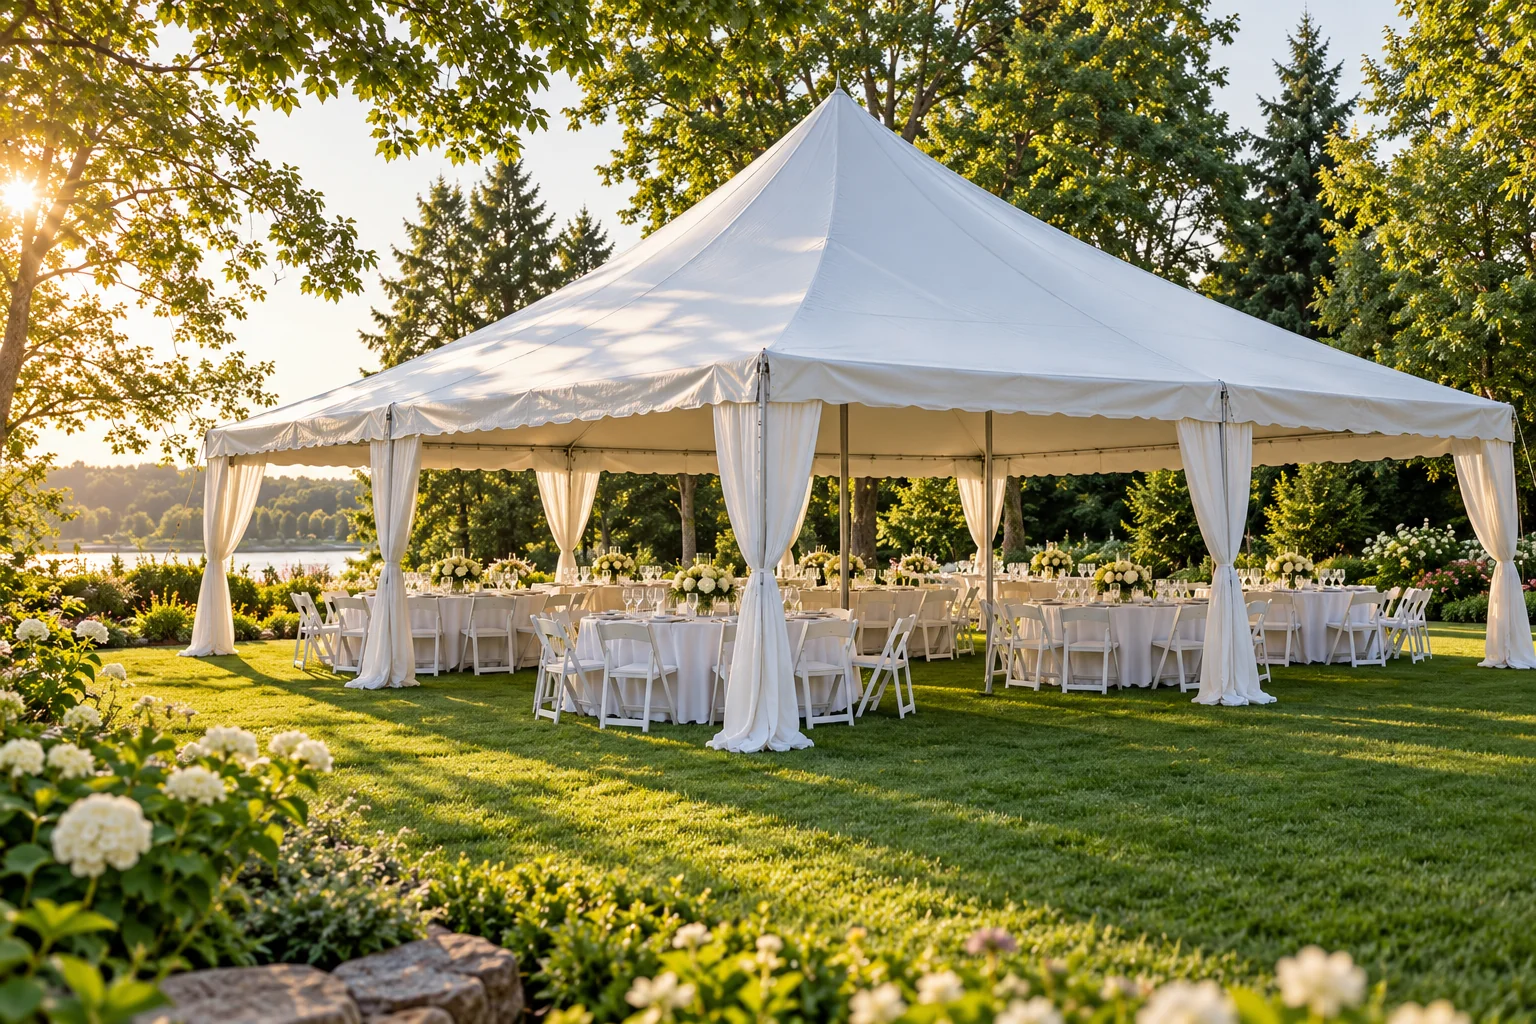
If the furniture is beneath a tent, provide the seating and service plan to the team responsible for the installation. Tent size, poles, anchoring, entrances and required clearances affect the layout. Leave installation decisions to the qualified team and do not move anchors or other components to make a table fit. The tent and the furnishings should be planned together, rather than treating the tent as an empty rectangle after it is installed.
Prepare an operational weather plan with the venue or event lead. Decide who monitors conditions, how guests receive instructions and where they go if the event must change. A tent is not a universal shelter for every severe-weather situation. Keep the plan realistic about the property and the facilities available. The furniture arrangement should support that plan, including the routes people would need to use.
Test the busiest five minutes
A useful way to review a layout is to imagine the busiest five minutes of the event. Guests are arriving, several people are at the drinks station, someone needs the washroom and staff are carrying supplies. Later, everyone may leave their seats for the buffet at once. Walk through those moments on the drawing. If two or three activities depend on the same narrow route, change the plan before the event.
If possible, mark the layout on site using a method the venue permits. Place one actual table with chairs and test how the space feels. Check the view from a seated position, not only while standing in the doorway. Ask someone unfamiliar with the plan to follow the route from entrance to food to seating. Their questions often reveal unclear signs or awkward station placement that the organizer has stopped noticing.
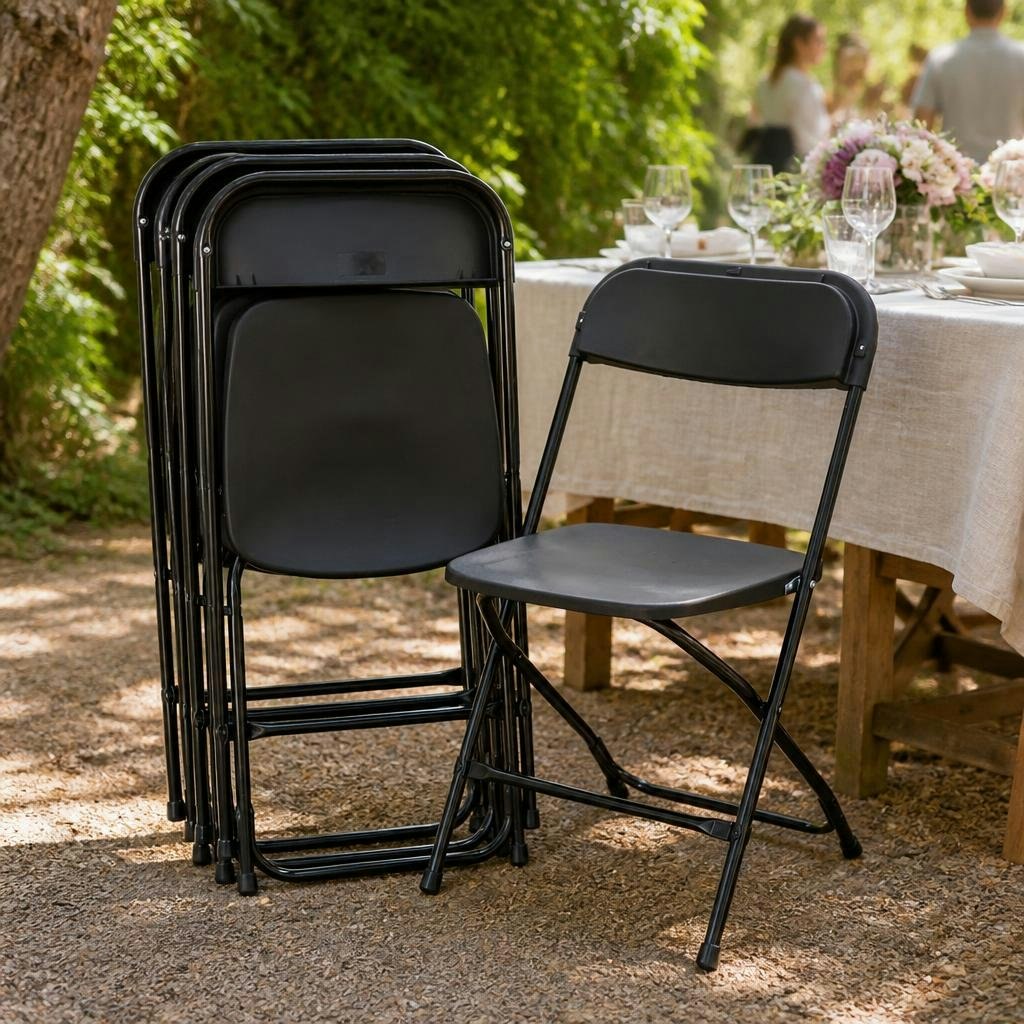
Review setup and teardown as well. Chair - Plastic Folding - Black and Chair - Plastic Folding Resin Chair w Cushion are different chair choices, but either needs a sensible staging and handling plan. Keep stacks, carts and packaging in approved areas. A layout can be excellent for guests and still be difficult to install if equipment must pass through a narrow finished area. Sequence the setup so larger items are placed before delicate table settings.
Turn the approved plan into the rental request
Once the layout works, convert it into a detailed equipment list. Count each table size and chair style separately. Add service tables, any chosen spare chairs and the linens required for each table type. Label the locations on the drawing and give the same labels to the setup team. If a table changes purpose during the event, note the time and the person responsible for clearing and resetting it.
Keep one current version of the plan. Date it and replace outdated copies when numbers or locations change. A small guest-count change can affect more than chairs: it may require another table, another cloth, a different centrepiece count and a revised service route. Review those connected details together. Do not let several people make independent adjustments to the room without updating the shared plan.
When requesting rentals from Cody Party, include the event date, venue, pickup or delivery preference and the relevant dimensions or access notes. Ask for help confirming equipment suitability and availability. Keep venue approvals and operating responsibilities with the appropriate people. A clear layout does not need to be complicated or professionally illustrated; it needs to show where people, furniture and service will go so the event can run comfortably.
Further reading & sources
Check current instructions and requirements for your event and the equipment supplied.