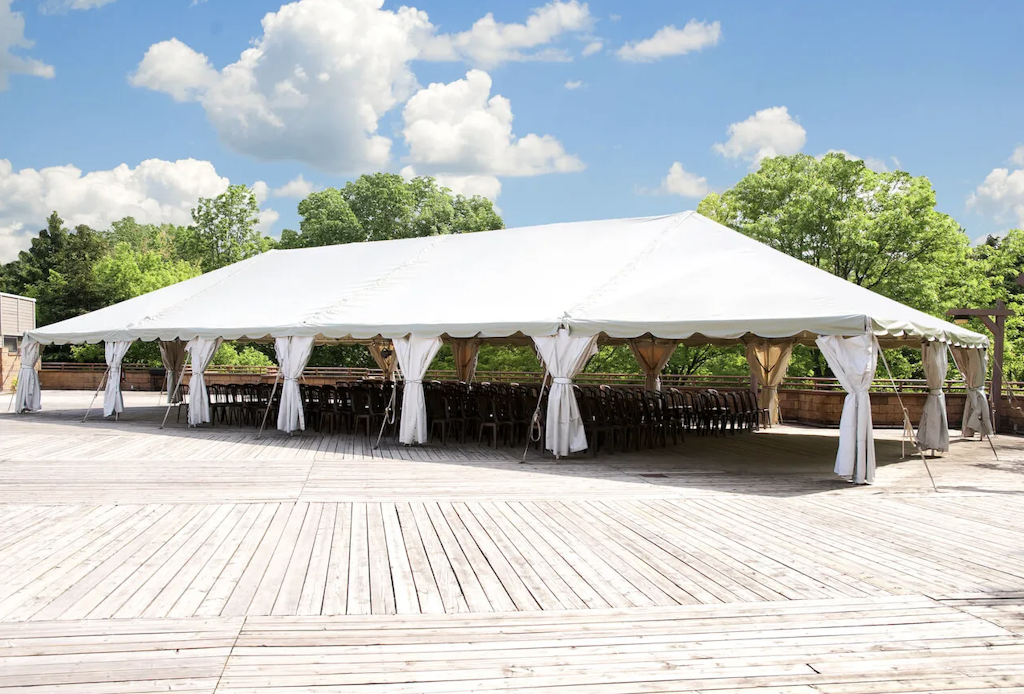
Choose the job before choosing the canopy
Start by naming the problem you want the tent to solve. Perhaps you need a shaded registration desk, a small station for an outdoor activity or a covered gathering area. Perhaps the tent must hold the entire dinner, complete with tables, chairs and service space. These are different jobs, and the most useful comparison begins with the activity rather than the price of the smallest option.
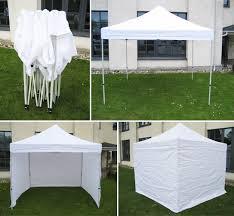
Cody Party lists Tent - 10 ft x 10 ft - Recreational Heavy Duty Grade Easy Up DIY as a self-install option. The catalogue also includes Tent 10 x 10 - Installed - Recreational Heavy Duty Grade and larger installed sizes. Those names establish an important distinction: a ten-by-ten size can appear in more than one service arrangement. Confirm the exact item and setup responsibility before ordering, rather than assuming every small tent is collected and assembled by the customer.
Write down what must be covered at the busiest moment. A registration table needs room for the volunteers behind it and the people approaching it. A seated meal needs space for guests to move, not just room for tabletop dimensions. If the proposed activity already feels crowded in a ten-by-ten sketch, look at a larger installed option instead of hoping the canopy will stretch around the event.
Understand the limits of a 10×10 footprint
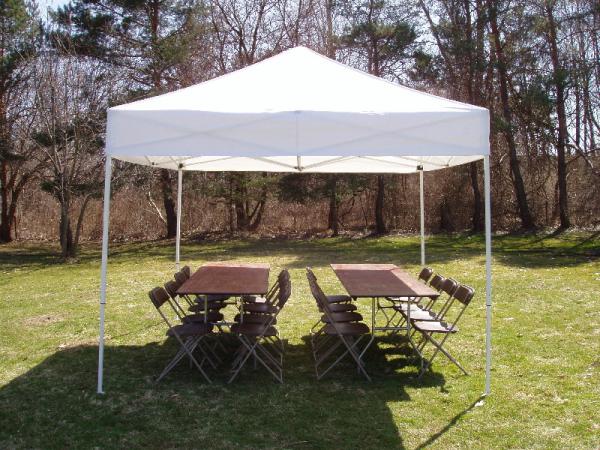
Ten feet by ten feet gives one hundred square feet of nominal covered area. That is useful for visualizing scale, but it is not a guest capacity. The supports, furniture and access arrangement determine what can actually fit. A table that seems small indoors can occupy a substantial part of this footprint once chairs or workers stand around it.
Mark a ten-by-ten area with a simple drawing or measurements in an open space, without erecting anything. Place the dimensions of the intended furniture on that plan. Add the person behind a serving station, the space for a queue and the route past the canopy. This exercise often shows whether the canopy serves a single station well or whether the event needs a different layout.
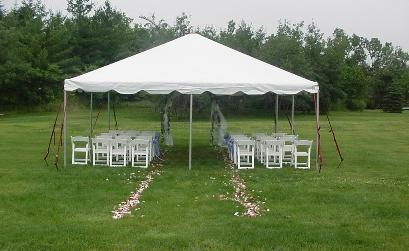
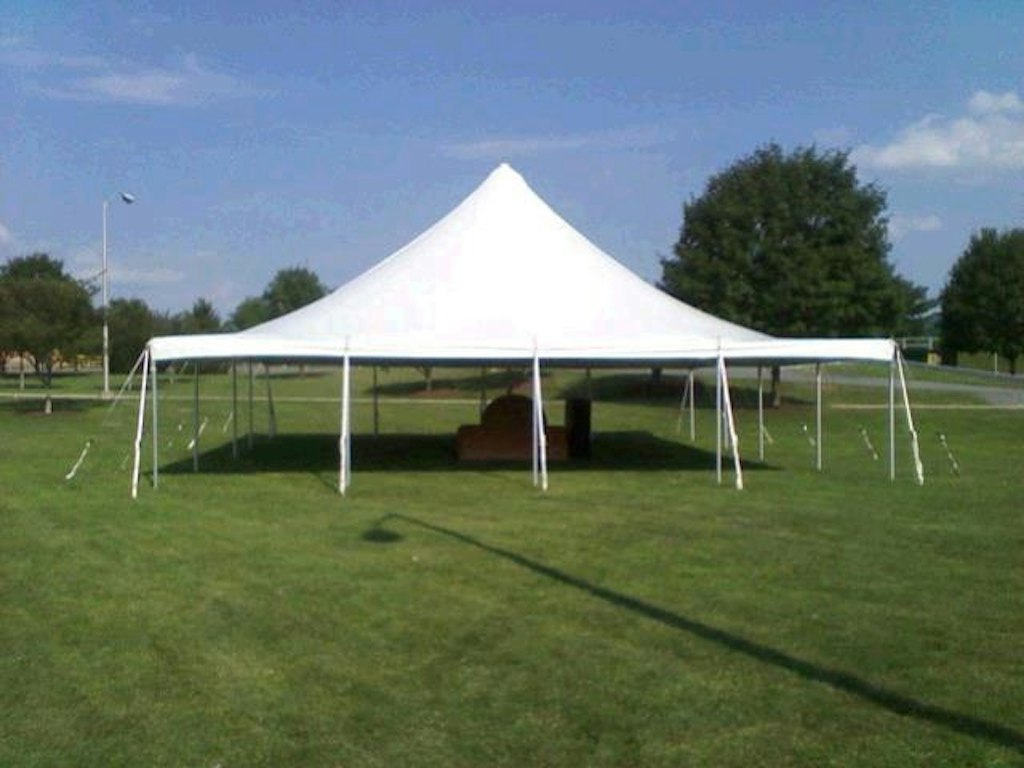
Avoid treating several separate canopies as a single large room without discussing the arrangement. Water management, anchoring, gaps and approvals all need consideration. The roof area is only one part of the plan. If everyone must stay together for dinner or a presentation, describe that requirement clearly. An installed tent such as Tent 20 x 20 - Installed may be a more useful candidate for review, subject to the site and intended layout.
Get the exact instructions and inspect the kit
At pickup, ask the team to identify the canopy model and show you the supplied instructions. “Easy Up” in a rental description should not be used to select an instruction video for an assumed brand or model. Folding frames, release buttons and locking mechanisms differ. Use the directions for the actual equipment rather than copying the sequence from a similar-looking canopy online.
Review the parts and accessories with the rental paperwork. Check the frame, fabric, carry case and approved anchoring items supplied, and ask about any inspection form that must accompany the return. Report an apparent missing part or damage before trying to assemble the canopy. Do not repair a frame, replace a fastener or force a locking mechanism yourself.
Arrange the number of capable helpers required by the instructions and allow an unhurried setup window. Choose one person to read the directions and coordinate the group. Keep children, pets and guests away from the working area. The practical aim is a prepared team using the correct sequence, not a race to match a promotional setup time. If the equipment or instructions are unclear, call Cody Party before proceeding.
Know what to confirm for an installed tent
With an installed tent, the rental discussion includes the site and the work needed to put the structure in place. Give the team the address, surface, access route and planned activities. Ask what is covered by the quoted installation and removal arrangement, and which preparations remain your responsibility. Do not assume that furniture setup or every accessory is included with the tent installation.
The crew needs an agreed location and a clear work area. Other suppliers should be scheduled around the installation rather than placing equipment where the tent needs to go. Discuss the period when the property must be accessible, including removal after the event. A venue booking that begins shortly before guests arrive may not leave enough time for the required work.
An installed option can reduce the customer’s assembly responsibilities, but it does not remove the need for an event plan. You still need to communicate changes, keep the installation undisturbed and follow the supplied operating guidance. The advantage is a defined arrangement for the structure and its setup. The decision should be based on whether that arrangement fits your event, site and available help.
Compare the site requirements
A small footprint does not eliminate site questions. The ground, nearby obstacles and surrounding access still matter. Describe slopes, low areas, fences, buildings and overhead services. Check permission to use the space, especially at a venue, workplace or shared property. A convenient location in a photograph may not be a suitable location for the actual equipment.
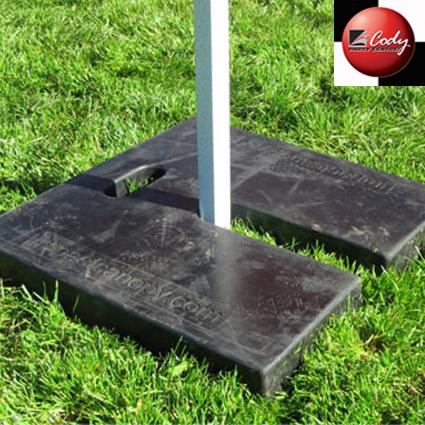
Ask how the supplied canopy or tent must be secured on your proposed surface. Do not assume that a patio, deck or parking area can use the same arrangement as a lawn. The catalogue includes Tent - Easy Up - Tent Weight (Rubber or Sand), but the listing is not a universal instruction about the quantity or configuration needed. Use the requirements supplied for the exact equipment and situation.
For any installation involving ground penetration, coordinate the appropriate utility information before work begins. Leave this responsibility explicit rather than assuming somebody else has handled it. For an installed tent, the team will need the site details to determine a suitable setup. For a self-install canopy, you still need to follow the rental instructions and stop if the proposed location or conditions do not meet them.
Treat accessories as part of the plan
An accessory can change how a canopy works, so choose it with the equipment and site in mind. A wall may seem like a simple way to improve privacy or reduce exposure, but it is not a substitute for a weather plan and should not be added without confirming compatibility and operating requirements. Explain the problem you want to solve before selecting accessories.
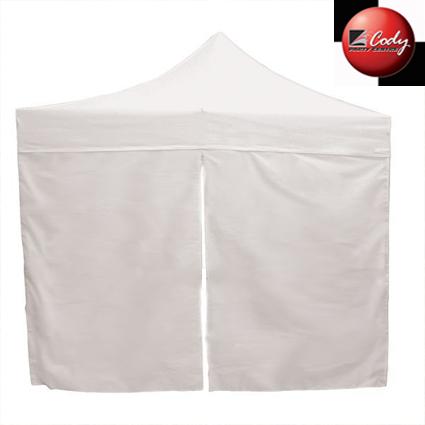
For example, Tent - Easy Up Wall 10' is listed for the Easy Up range. Ask whether it is appropriate for the exact rental you are choosing and what restrictions apply. Do not assume a wall for one tent system fits another, or that closing more sides always makes a structure safer or more comfortable. The supplied setup instructions remain the reference.
Keep furniture, signage and lighting separate on the order unless they are expressly included. A photograph may show a complete event setup while the listing refers only to the canopy. Make a short accessory checklist and confirm each line with the team. This avoids arriving with a canopy but no suitable table, or ordering a wall on the assumption that it is part of the standard package.
Plan for the forecast and changing conditions
Neither a pop-up nor an installed tent replaces a safe plan for severe weather. Decide who will watch conditions and who can stop the outdoor activity. Identify where people will go if the event cannot remain outside. That plan should be practical for the number of guests and their mobility needs, rather than simply naming a building that may be locked or too small.
A tent is not safe shelter from lightning. Use an appropriate safe location and follow official weather guidance. For wind and other operating conditions, use the directions supplied for the specific rental and the installer’s advice. Do not rely on a generic wind rating found for a different brand or on the assumption that extra improvised weights solve the problem.
Tell the team how long the equipment will be in use and whether it will remain in place overnight. Ask what supervision, storage or shutdown arrangements apply. A canopy used briefly for a staffed station and a structure left outdoors for a multi-day event are different planning situations. Make those details visible in the rental request so the equipment and responsibilities can be discussed accurately.
Compare the complete cost and effort
The most useful comparison includes more than the tent line on the quote. For a self-install canopy, consider transport, suitable help, setup time, required accessories and the return arrangements. For an installed tent, compare the quoted delivery, installation, removal and site-related requirements. Ask for clarification rather than assuming that a low item price represents the total event cost.
Think about the value of your available time. A host already preparing food, welcoming suppliers and decorating may not have the capacity to manage another setup task. On the other hand, a focused small activity with a suitable site and prepared helpers may be a reasonable use for a self-install rental. Neither answer is automatically correct for every customer.
Compare options using the same event brief. If one version includes only a canopy while another includes tables and service arrangements, the totals are not directly comparable. Mark optional items and record which responsibilities belong to you. A clear quote helps you choose the arrangement you can actually manage, rather than discovering missing components or extra work on the day of the event.
Use a deliberate setup and handover routine
Before unpacking, confirm that the site and weather are suitable under the supplied instructions. Clear the working area and have the approved anchoring equipment ready. Position the canopy where it will be used so you do not need to move an assembled structure through guests or around obstacles. The anchoring method, quantity and sequence must match the actual canopy and surface.
Follow the model’s instructions for opening the frame, fitting the fabric if required, engaging locks and adjusting the legs. Keep hands away from scissor joints and pinch points, and coordinate movements with the other helpers. Do not force a component that resists or continue with a bent or damaged part. Stop and contact the rental team if something does not match the instructions.
Before using the area, complete the checks required by the supplied instructions: the structure is correctly assembled, locks engaged, anchoring installed and routes clear. Add only the compatible accessories that were approved for the rental. Give the responsible operator the weather and shutdown plan. This is a planning routine, not a substitute for the exact model’s assembly and anchoring directions.
Plan takedown before the event gets busy
Choose the helpers and a suitable time for takedown in advance. Keep the carry case, accessories and instructions together throughout the event. Clear guests and furniture from the work area before beginning, and follow the supplied sequence for removing accessories, lowering, releasing and folding the canopy. Do not assume the anchoring should be removed first; follow the procedure for the actual model and conditions.
Keep people coordinated around the frame and avoid forcing it closed. If a release or joint will not move as described, stop and ask for help rather than pulling harder. Do not attempt takedown in dangerous conditions simply to protect the equipment; move people to safety and follow the agreed weather procedure. A tent is not safe shelter from lightning.
Check the return instructions for fabric condition and packing. If the canopy is wet, contact Cody Party about how to handle the return rather than sealing it away and leaving it damp. Count the weights, walls and other accessories against the order, and keep any required inspection form with the kit. Record damage or missing components honestly so the handover is clear.
Make the final selection with a complete request
Prepare your enquiry with the event date, location, number of people and a short description of what will happen under the cover. Include the surface, site photographs and any access restrictions. State whether you are considering self-install or installed equipment, and mention the help and transport you have available. Ask for guidance where a detail is uncertain.
Before sending the request, check that the proposed footprint includes the people working at the station as well as the guests using it. Confirm whether the event needs walls or other accessories, and avoid assuming that items in a photo are included. Add the selected rental to your request as a starting point, then review the team’s confirmation before treating the plan as booked.
The right choice is the one that fits both the event and the responsibilities around it. A small self-install canopy can be a useful tool for a specific task. An installed tent can provide a more suitable setting for a larger or more complex gathering. Clear information about the site, activity and setup needs helps Cody Party guide you toward an arrangement that works in practice.
Further reading & sources
Check current instructions and requirements for your event and the equipment supplied.
- City of Ottawa: tents, patios, awnings and canopies ↗
- Ontario Dig Authority: public and private utility locates ↗
- Environment and Climate Change Canada: lightning safety and tents ↗
- Cody Party: terms and conditions ↗
- E-Z UP: model-specific owner manuals and setup instructions (reference only; confirm supplied model) ↗