Walk the site before choosing the tent
Begin with a walk around the entire event area. Look at the property as an installer, a guest and a delivery driver would see it. The open patch of lawn may be the obvious location, but the approach, nearby structures and ground conditions determine whether it is a practical choice. Make notes before committing to a table arrangement or sending invitations that describe the tent location.
Write down the event address and the exact area on the property. A large venue may have several entrances or fields. “Behind the building” can mean different places to different suppliers, so mark the proposed area on a simple sketch. Include the nearest street access, unloading position and route to the site. Record who owns or manages the property and who can approve the installation.
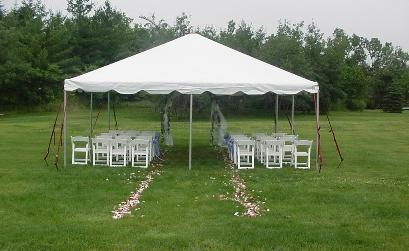
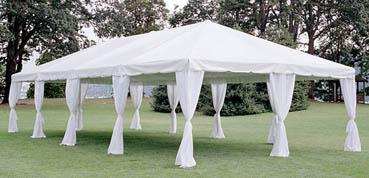
Browse sizes such as Tent 20 x 20 - Installed or Tent 20 x 40 - Installed to understand the general scale you are considering. Then ask the team what information they need to review that size for your site. Avoid trying to make a tent fit after every other event decision has been fixed. The property, structure and layout should be considered together, with alternatives kept open until the main constraints are understood.
Measure more than the space under the canopy
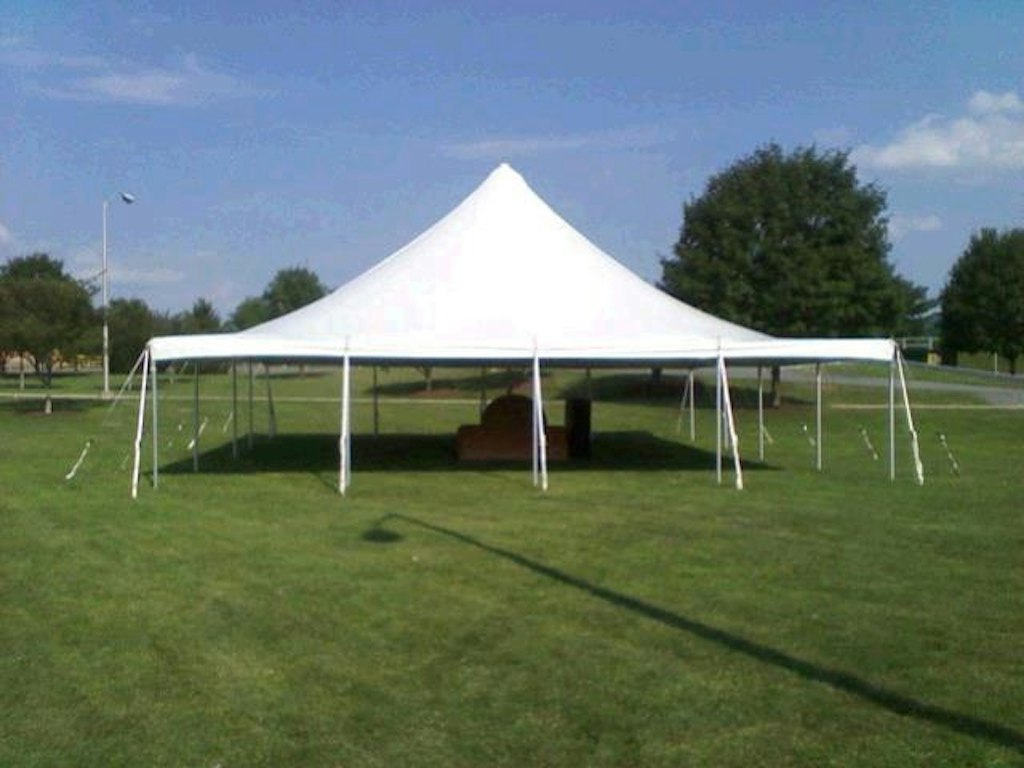
Measure the length and width of the proposed area, but also measure the features around it. Note the distance to fences, buildings, garden beds, trees and changes in ground level. A roof-sized rectangle is not the full installation footprint. Anchors, ropes, ballast and working space may occupy additional ground, depending on the confirmed tent system.
Draw fixed objects first and add the proposed tent second. That approach makes it harder to overlook an inconvenient shed or a tree near a corner. Mark any route that must remain open, including building exits and access for other services. Keep your measurements labelled with units. Mixing feet and metres in a sketch is an easy way to create confusion when discussing a large area.
If the property is irregular, provide several measurements rather than a single approximate width. A narrow gate, a curved fence or an overhanging structure can matter even when the lawn itself is generous. Photographs help explain those details. The team may require a site review, so treat your measurements as useful preliminary information rather than a substitute for confirming the installation requirements of the specific tent.
Describe the surface and drainage honestly
Tell the rental team what is underneath the proposed installation: established grass, new sod, dirt, gravel, asphalt, concrete, paving stones or another surface. Include slopes, soft areas and any recent excavation. A site that looks firm on a dry afternoon may behave differently after rain, especially if landscaping work has disturbed the ground.
Look for evidence of water movement. Where does the downspout discharge? Does runoff cross the entrance? Is there a low area where guests would sit? A tent roof can keep some rain off the dining area, but it does not change how water travels across the property. Ask about an alternative location if the preferred spot regularly collects water.
Do not make unapproved changes to level the ground or conceal a problem just before installation. Explain the issue so the team can assess whether the site and requested equipment are suitable. If you are considering a floor or dance surface, discuss the underlying ground as part of that request. A floor is a separate planning item, not an automatic solution for every uneven or wet area. Good photographs and direct descriptions are more useful than reassurance that the yard is “usually fine”.
Look above the site as well as below it
Stand at several points around the proposed tent and look upward. Identify overhead wires, low branches, building projections and any fixtures near the roof area or access route. Do not estimate that a tent will clear a hazard from a photograph. Give the installer the information needed to assess the actual structure and its installation process.
Trees create more than a height question. Their branches, roots and surrounding ground may affect where equipment can go, and the canopy can hide the shape of the space. Photograph the site from the sides as well as from the house. Include the full height of nearby obstacles where possible, rather than sending only a close-up of the grass.
Keep any tree work or electrical work separate from the tent booking and handled by appropriate professionals. Do not move a tent closer to overhead services because a table layout looks better there. The final location must satisfy the installer’s safety requirements. If a neighbouring property has features close to the proposed site, include them in the discussion. The useful event area is defined by the surroundings, not just by the part of the lawn you own.
Coordinate underground utility information
If installation involves ground penetration, underground infrastructure must be addressed before work begins. Ontario Dig Authority coordinates public utility locates and explains that privately owned services may need separate locating. Examples on an event property can include services to a detached building, a pool or other outdoor equipment. Tell the installer about known private systems and confirm who will arrange the required requests.
Keep the locate package available and preserve the markings. A verbal statement that the yard was checked years ago is not the same as current information for the proposed work area. If the tent location changes, tell the team promptly so they can determine whether the information still covers the job. Do not shift stakes or the planned installation footprint yourself to avoid a marking.
Build this task into the schedule early. The event date is not the only deadline; information must be ready before the installation crew needs to work. Ask what the installer requires and when. If you are renting a venue rather than using your own property, involve the property manager in the conversation. They may hold information about private infrastructure that the event organizer does not have.
Arrange permissions and approvals
Confirm that the property owner permits the proposed tent installation and understands the requested location and anchoring approach. Permission to hold an event is not necessarily permission to penetrate a paved surface or occupy a particular part of the grounds. Ask about restrictions before selecting the final layout, especially at shared properties, workplaces or rented venues.
Ottawa’s published tent permit exemption is conditional: it considers combined area, attachment to a building and separation from other structures. Review the City’s current guidance for the complete arrangement and clarify responsibility for any application. Do not assume a collection of smaller tents avoids the requirements that apply to the overall project.
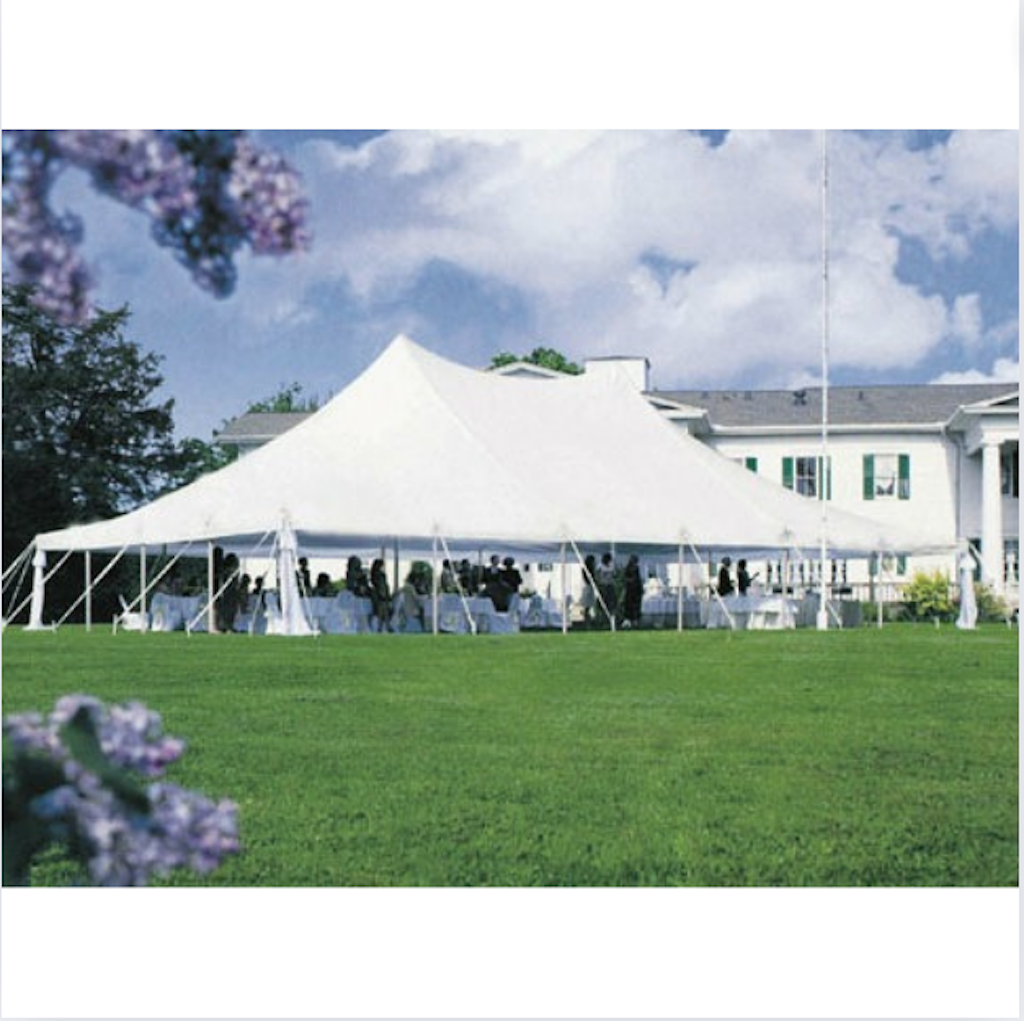
Keep approvals and practical access arrangements together in your event file. Record who can unlock gates, authorize the agreed site and answer questions on installation day. If a site manager must be present, schedule that person for the installation window rather than only the event itself. For a larger option such as Tent 40 x 60 - Installed, communicate the proposed size early so that the venue, rental team and any approving authority are discussing the same project.
Plan the unloading and carrying route
Follow the route from the road or parking area to the tent site. Measure narrow gates and note stairs, steep slopes, tight turns and surfaces that may be soft. Tell the team whether a truck can approach the installation area and whether parked vehicles normally block that route. The distance matters, but so do the obstacles along it.
Keep the route clear for the agreed delivery and installation window. Move personal furniture, planters and vehicles in advance where required. If several suppliers are arriving, coordinate their access rather than booking everyone into the same unloading position. A caterer’s vehicle or décor delivery should not prevent the tent crew from reaching the site.
Describe access limitations when requesting the quote. Do not wait until the vehicle arrives to mention an elevator, a locked service road or a long carry through a building. These details can affect the work plan and charges, which should be confirmed with the team. Make sure the removal route is considered too. An area that is clear before the event can become blocked by parked cars, bins and leftover furniture afterwards.
Confirm anchoring and accessories with the installer
Ask the team how the proposed tent will be secured on the approved surface. Do not select an anchoring method simply because another event used it. The correct arrangement depends on the structure and site. If penetration is restricted, say so at the start; the installer must decide whether an acceptable alternative is possible.
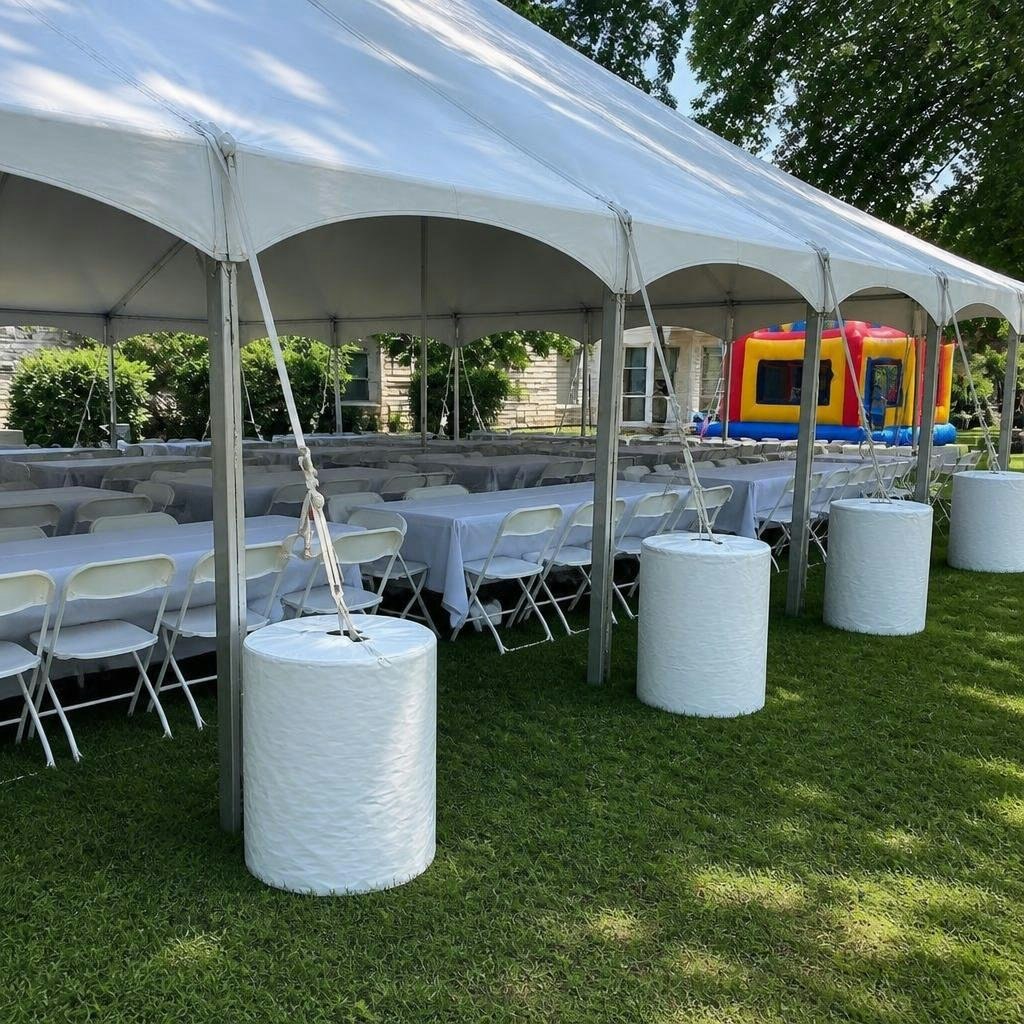
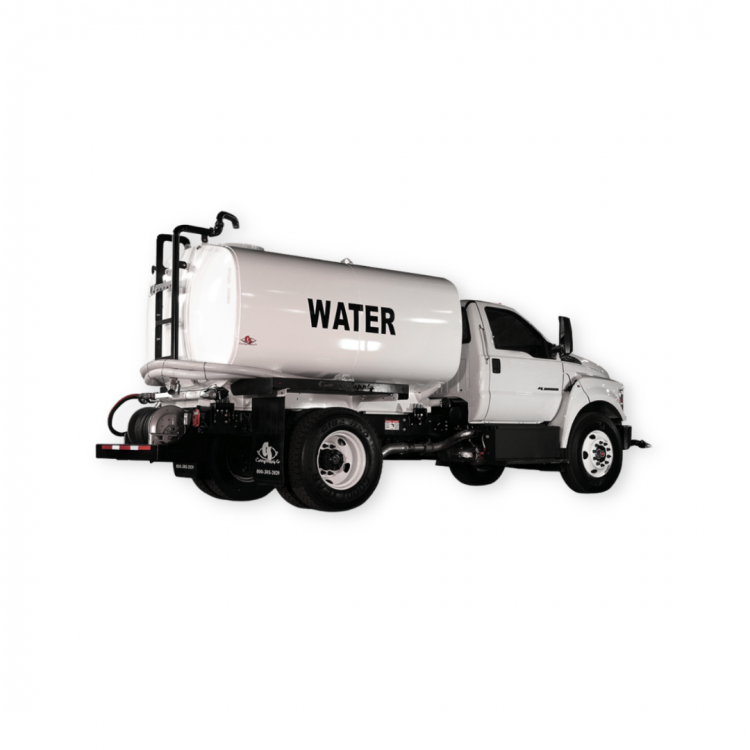
The catalogue includes Tent Water Barrels Weights (Water On Site) and Tent - Water Truck - To Fill Water Barrels. These listings can help you understand items that may appear in a tent plan, but they are not a do-it-yourself specification for ballast. Confirm whether they are required for your installation, how they will be positioned and what arrangements apply to filling or servicing them. Do not substitute containers or change the setup yourself.
Discuss walls, floors and any other accessory as part of the same plan. Confirm who supplies and installs each element and when other vendors can begin their work. Keep décor and equipment clear of the anchoring areas and exits. If you want to attach something to the tent, ask first. A finished installation should remain in its approved arrangement throughout the rental; changing accessories or moving components can affect more than appearance.
Prepare the event and weather plan
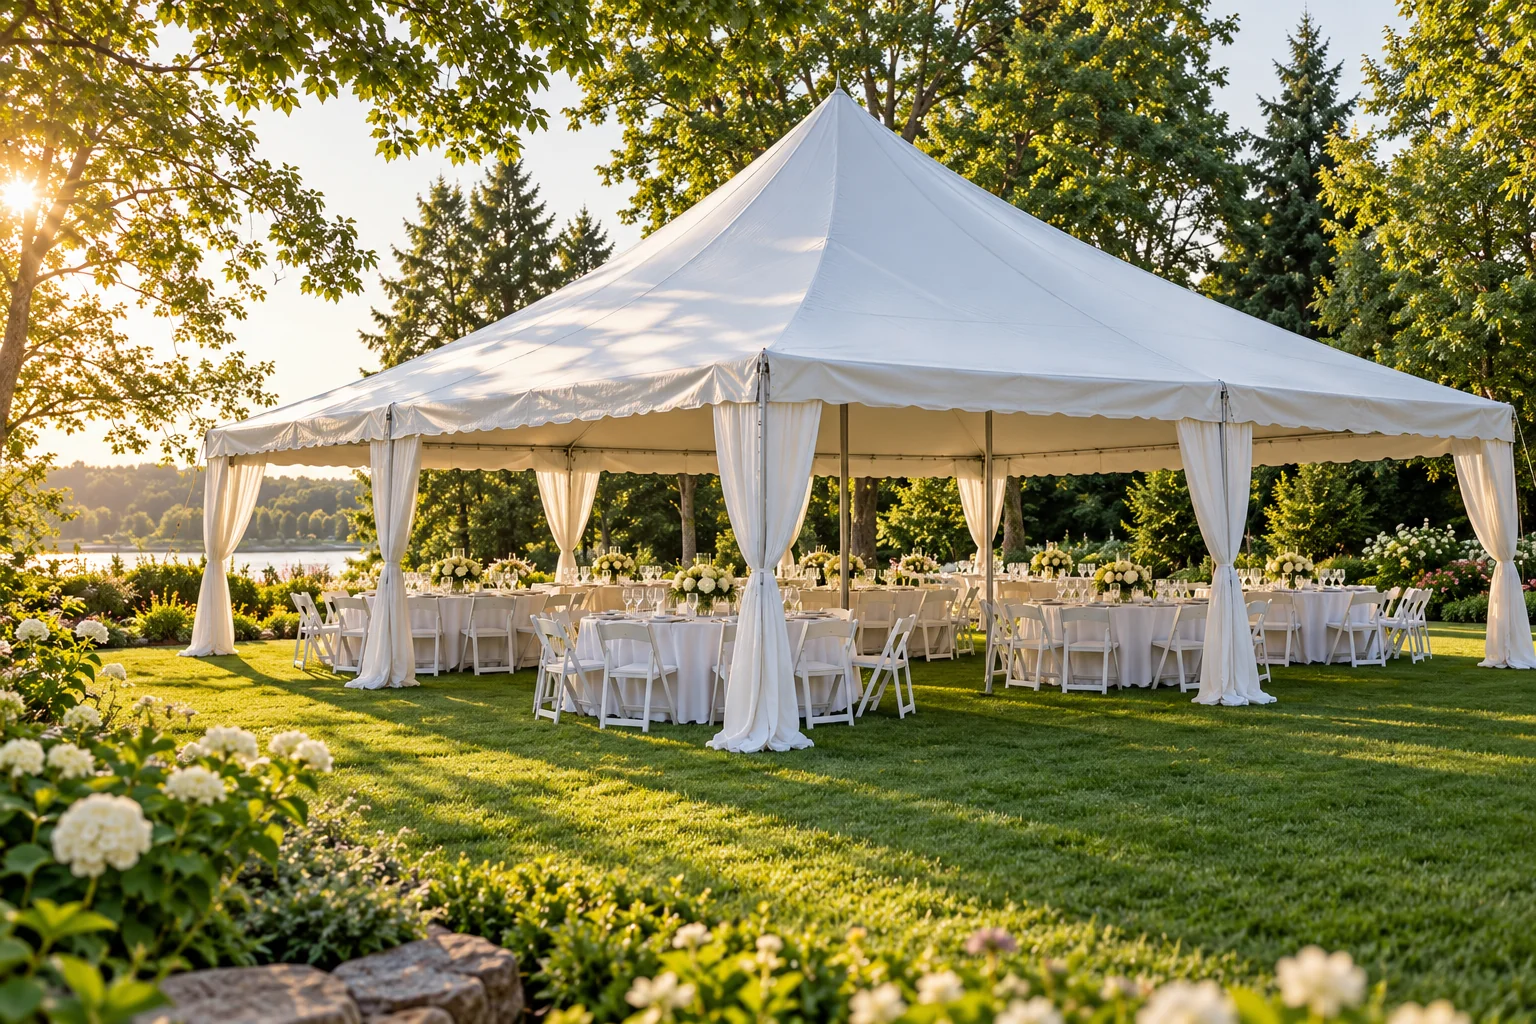
Once the installation layout is agreed, place the event activities within it. Show tables, chairs, service zones and guest routes on the drawing. Keep the planned entrances and exits usable. Do not fill the perimeter with storage simply because it looks like spare space. The installation and event plans need to work together.
Choose a person to monitor conditions and act on the agreed weather procedures. Identify safe shelter and how guests will get there. Tents are not safe lightning shelters, so a plan that says “everyone goes under the tent” is incomplete. Helpers should understand the alternative before guests arrive, including how anyone who needs assistance will move.
Think about comfort without improvising equipment. Heating, cooking and electrical arrangements need appropriate review for the actual setup. Tell suppliers what you intend to use, where it will be placed and how it will be powered. Keep the plan realistic for the season and event hours. If the forecast or site conditions change substantially, contact the team rather than assuming the original arrangement will remain suitable without discussion.
Use a final installation-day checklist
Before the agreed arrival window, check that the site matches the information you provided. The area should be clear, gates accessible, vehicles moved where required and the route ready. Have the current layout, relevant approvals and utility information available. Ensure the on-site contact can be reached and knows the agreed tent location.
Keep guests, children and pets away from the work area while installation is taking place. Schedule decorating and furniture placement around the team’s instructions. Avoid creating pressure to rush the work because another supplier arrived early. Once the installation is complete, ask any remaining operational questions before the crew leaves and keep the contact details available for later concerns.
For your rental request, send a concise package: event date, address, guest count, intended activities, site measurements, photographs, surface type and access details. Flag uncertainties instead of guessing. A well-prepared site does not mean doing the installer’s work; it means making the conditions clear and ready so the right equipment can be installed properly. That preparation gives the rest of your event a much more reliable starting point.
Keep one dated version of the site plan and share it with everyone coordinating suppliers. If a parked vehicle, new garden feature or changed delivery route affects that plan, tell the installation team before arrival rather than waiting until unloading begins.
Further reading & sources
Check current instructions and requirements for your event and the equipment supplied.